01TIMER.COM / Timing system guides / Cycling testing
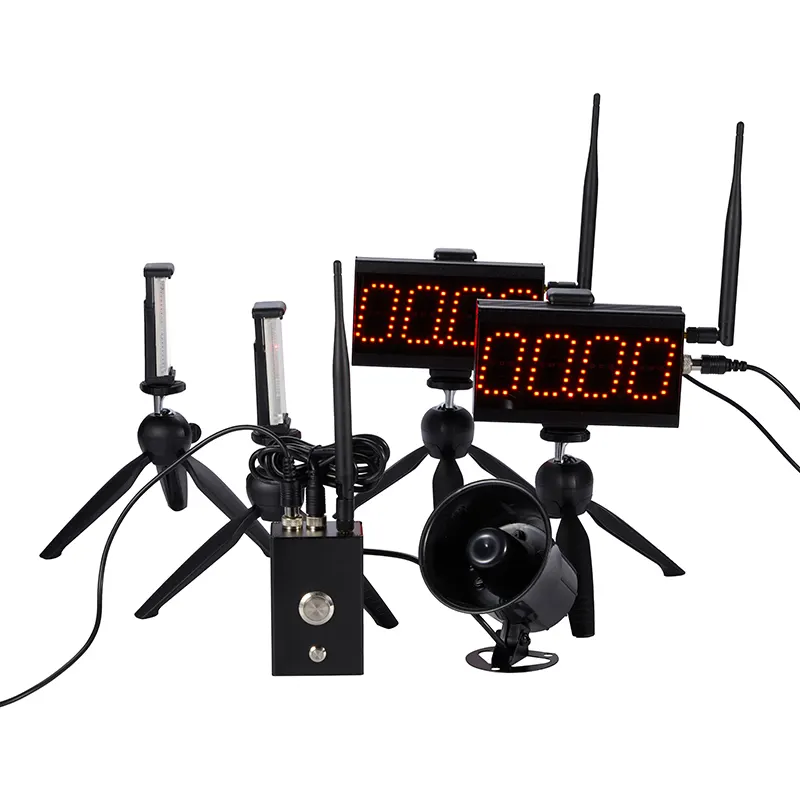
Using Timing Gates for Cycling Speed Testing
Cycling tests become easier to compare when the course and start rule stay the same. Electronic timing does not replace good test design, but it can remove some of the ambiguity from a start-to-finish result.
Define the question first
Decide whether the session is about a standing start, acceleration, a flying effort, or repeated runs. Each question needs a clear start point and finish point. Write down the distance, direction of travel, warm-up procedure, and recovery time before setting out the equipment.
Choose the timing layout
A simple start-to-finish test needs two timing points. Add a split point when you need to see where acceleration changes. More gates can help describe a longer effort, but each extra point adds placement, alignment, and result-labeling work. A single-athlete timing solution may suit an individual coach, while a multi-point system is better when the test question needs intermediate results.
Place gates around the rider’s line
Measure the distance along the line the bicycle will actually travel, not a shortcut across the track. Keep the gate height and approach consistent between attempts. Mark the placement so the next session can reproduce it. Check sight lines, sunlight, nearby riders, and any surface change that could alter the approach.
Make the start rule explicit
“Start when ready” can mean different things to different riders. Choose a repeatable rule, such as a fixed start position or a defined movement through the first gate. Tell the rider what counts as an attempt, what happens after a false start, and how many valid efforts will be recorded.
Record context with every result
Keep the rider, bicycle setup, gear choice, wind or indoor conditions, course direction, distance, and attempt number beside the time. A faster result without its context is difficult to interpret. This record also helps a coach separate a genuine change from a different start, surface, or recovery interval.
Check the system before the first rider
Power the units, align the gates, run several test passes, and confirm that the intended result is captured. For wireless equipment, verify the link after final placement. If a result looks unusual, repeat the test and inspect the rider path and gate alignment before changing the protocol.
Explore the timing equipment catalog and ask 01TIMER for a quote with the distance, number of points, and operating environment.
Keep comparisons fair: use the same measured distance and start rule, and state the conditions when you share the result.