01TIMER.COM / Timing system guides / Sprint testing
30m, 60m and 100m Sprint Timing Guide
A sprint time only becomes useful when the test is repeatable. For 30m, 60m, and 100m work, that means fixing the start rule, timing points, lane, and result-recording routine before the first run.
Choose the question before the distance
A 30m sprint test is often used to observe the early part of a sprint. A 60m or 100m test can add more of the athlete's acceleration-to-max-speed transition, depending on the athlete and protocol. The distance alone does not define the test. The start, timing rule, surface, footwear, rest period, and weather notes all influence what a coach can compare later.
Write the protocol in a short form that staff can use at every session. It should state the distance, start style, gate locations, number of attempts, rest approach, and which attempt is recorded. That is more valuable than trying to remember the setup from a previous training block.
Build a timing-gate layout that matches the result
| Test objective | Useful timing layout | What to record |
|---|---|---|
| Single 30m result | One defined start rule and a finish gate at 30m. | Total time, start method, lane, attempt, and any repeat condition. |
| Acceleration splits | Finish gate plus selected intermediate points, such as 10m and 20m, when the equipment and protocol support them. | Each split definition and whether it is cumulative or segment time. |
| 60m or 100m assessment | Finish gate at the final distance with only the split points that will be reviewed. | Total time, split locations, and the same environmental notes used for earlier sessions. |
More gates do not automatically make a better test. Each additional point adds setup and data-handling work. Use splits when there is a coaching question behind them, such as whether an athlete's first 10m and later segment move together or separately over a training period.
Set the start rule once
Electronic timing removes the reaction-time judgement that comes with a handheld stopwatch, but it still needs a clear start definition. A standing start, a touch start, a beam start, and a rolling start are not interchangeable. Put the rule in writing and teach it during warm-up.
For a standing sprint, mark the athlete's starting position and explain whether the clock begins when they cross a start beam or at another defined event. For a rolling sprint, measure and record the run-in distance, then ensure the first timed gate is placed at the same point each time. Do not compare a rolling 30m result to a standing 30m result as though the protocols were identical.
Align and test the equipment before the session
Place each gate on stable ground, confirm its height and alignment, and run controlled passes through the final lane layout. A quick equipment check at the venue catches problems that are invisible on a bench: a moved tripod, an obstructed beam, an unsuitable athlete path, or a receiver placed too far from the intended display.
Use the same lane width and gate position for every attempt. For practical alignment steps, see the timing gate alignment and beam height guide. If the system records intermediate points, verify each one separately rather than assuming a finish result proves the whole chain is working.
Run the session without changing the measurement midstream
Give athletes a consistent warm-up and explain the start rule before their first scored run. Keep the equipment in place after the initial verification. If a gate moves, a battery is replaced, or the protocol changes, note it beside the results. A small log prevents an unexplained outlier from becoming a false training conclusion later.
Use a calm process for unusual results. First check the athlete path and start rule, then confirm gate alignment and the recorded attempt. Re-run only when the protocol allows it, and label the reason. Do not silently overwrite a result.
Store results so the next test is easier
Every result needs enough context to stand on its own: athlete name or identifier, date, distance, start method, lane, timing layout, attempt, and notes. For split testing, keep the raw result as well as any derived comparison. The repeatable athlete timing workflow explains how to keep that record useful across training blocks.
Protocol first: the same 30m distance can measure different things when the start and timing rule change. Keep those choices visible in the record.
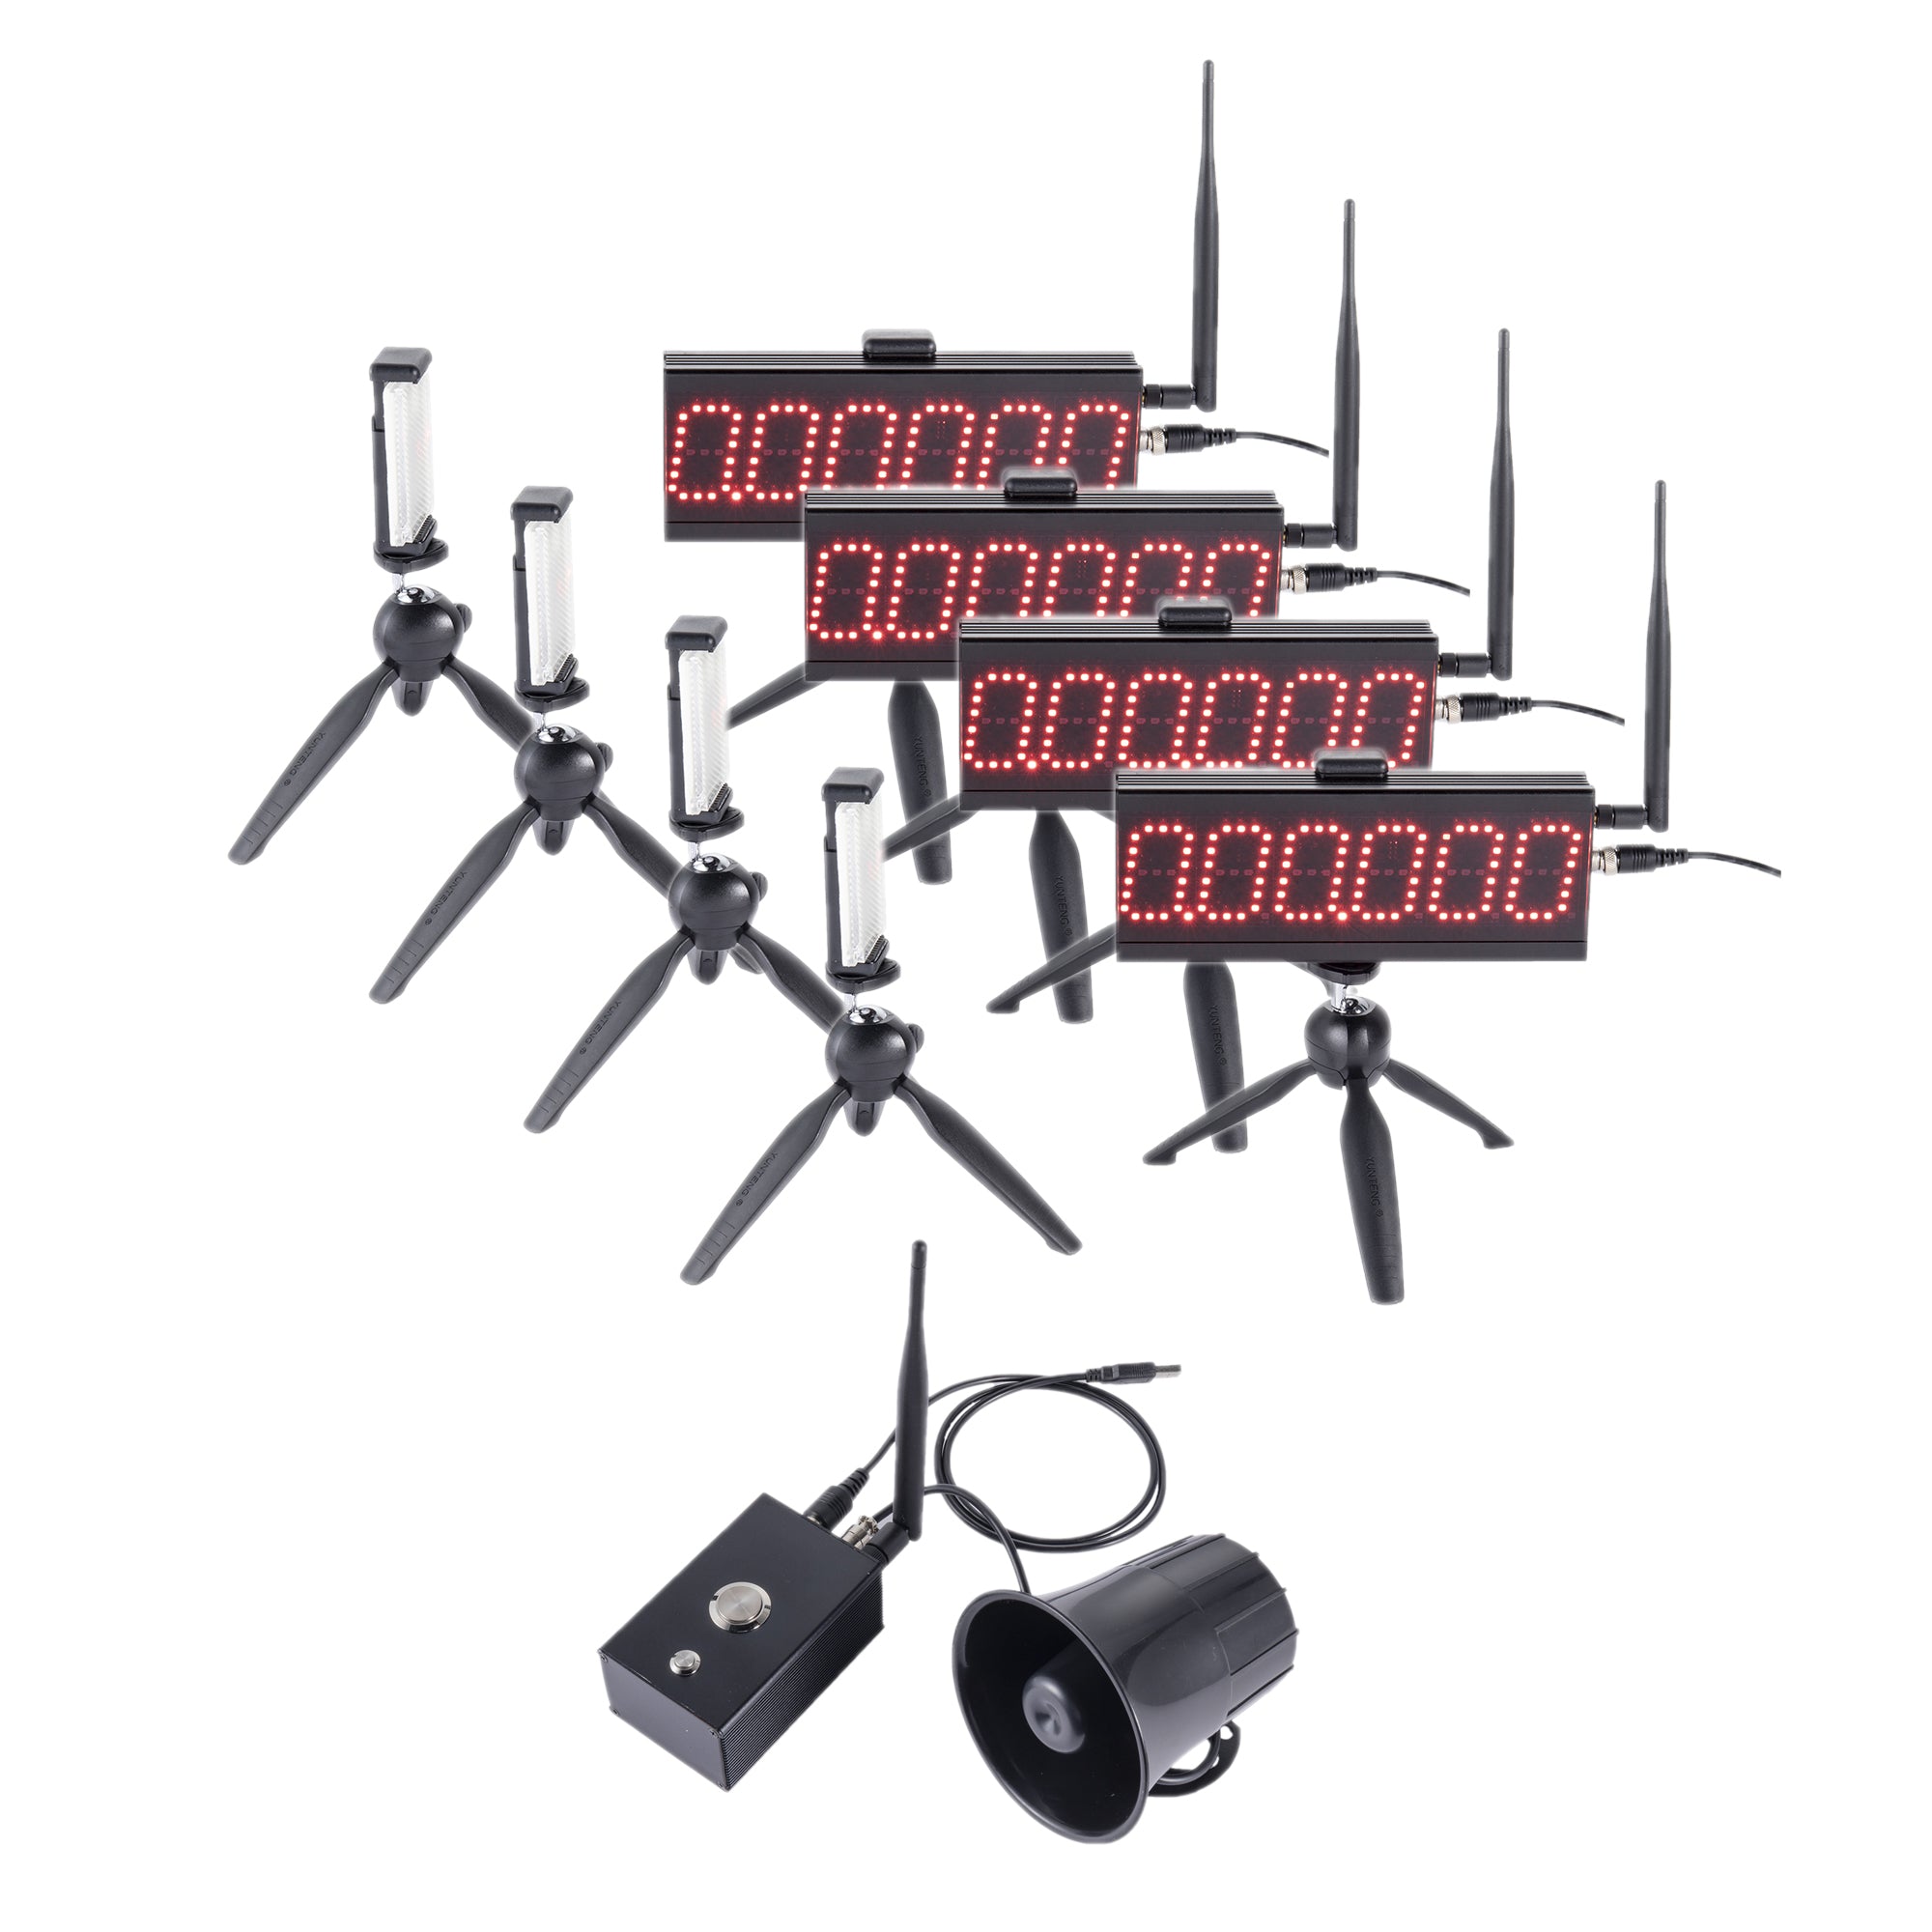
For systems with multiple timing points, review the S-007 multi-point timing system page for published product details. Use the product page, not this guide, as the source for model specifications and package contents.