01TIMER.COM / Timing system guides / Gate alignment
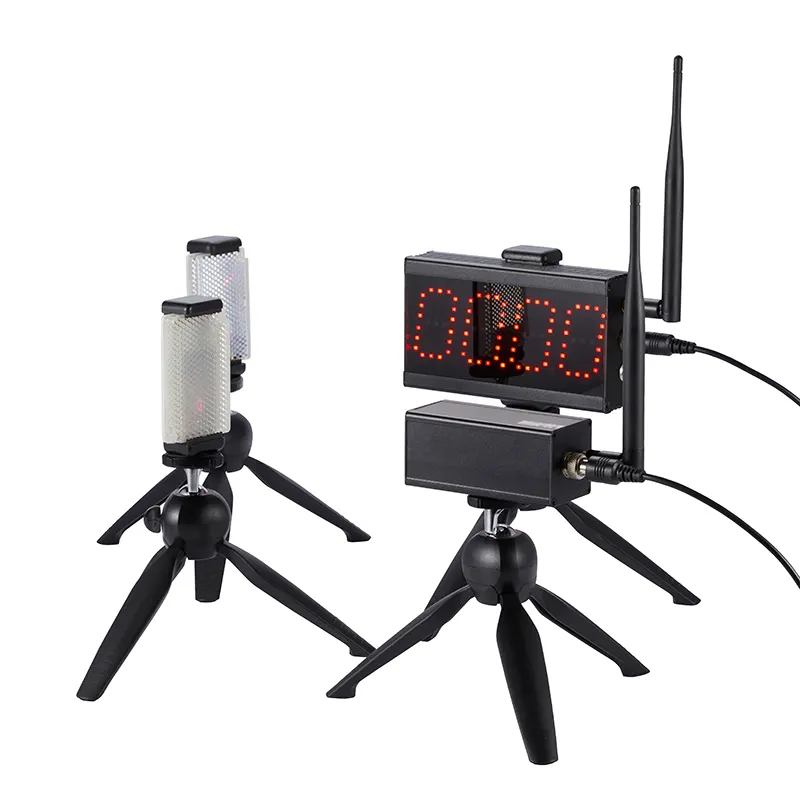
Timing Gate Alignment and Beam Height for Field Tests
A timing gate can record a clean beam break only when the units are stable, aligned, and placed at a documented height. In a sprint or shuttle session, a small change in where the beam crosses the athlete can change the event that the system records. The practical solution is a short alignment routine that is repeated every time the course is built.
Choose one beam position for the protocol
Set the beam height to the position specified by your established protocol or model guidance, then keep it unchanged for the group and future repeat tests. The correct height is not a universal number. It depends on the system, the task, and the event you intend to record. What matters for comparison is that the height and crossing rule are recorded and reproduced.
Beam height deserves attention because athletes do not cross a line as a single vertical object. Arms, legs, torso position, and posture can move through the beam at different moments. A changing beam position can turn a change in setup into what looks like a change in athlete performance.
Align the units after the course marks are measured
First measure and mark the start, split, or finish line. Then position the timing hardware so the beam represents that line. Do not use a tripod leg or the edge of a mat as the distance reference unless the protocol explicitly defines it that way.
- Place both units on firm, level ground and lock the supports.
- Set the same beam height on the transmitter and receiver or reflector.
- Aim the units using the model's alignment indicator or test method.
- Confirm the beam remains stable after you step away from the equipment.
- Perform controlled beam breaks before a full-speed trial.
Wind, soft turf, a loose tripod collar, or an athlete brushing a support can alter the alignment. Re-check whenever equipment is moved, a gate is touched, or a result suddenly looks different from the rest of the session.
Test the real athlete path, not only the indicator
An alignment light or status signal confirms that the components can see each other. It does not prove the gate will behave as intended during the actual movement. After the static check, ask someone to walk and then run through the same path athletes will use. Verify that the expected receiver, display, or data record changes at the correct point.
For a multi-lane or multi-point session, repeat the check for each lane and point. Label the equipment before testing starts. A lane name that changes halfway through the day creates a data problem even if every gate is working correctly.
Keep the beam path clear
| Potential interference | Practical response |
|---|---|
| Waiting athletes or staff | Keep them outside the lane and away from the beam line. |
| Cones or bags near a support | Move them away so they do not shift a tripod or interrupt a path. |
| Reflective or moving objects | Inspect the area and follow the equipment manual's setup guidance. |
| Uneven ground | Use stable footing, then re-check height and alignment after adjustment. |
| Vehicle or spectator traffic | Protect the course and keep timing hardware outside traffic routes. |
Document the setup with the results
A simple setup sheet should list the test name, measured distances, beam height, timing mode, equipment positions, surface, and date. Take one wide photo of the complete setup when a protocol is first established. The photo is a reference for staff, not a substitute for the measured dimensions.
Record any changes made during a session. If a tripod is moved to avoid glare or a gate is raised after a collision, note which trials occurred before and after the change. This lets a coach decide whether two groups of results should be compared directly.
Troubleshoot unexpected readings in order
When a gate fails to trigger or produces an unexpected event, begin with the most local cause. Check whether the athlete crossed the correct path, whether the hardware was disturbed, whether the beam is aligned, and whether the timing mode matches the task. Run a controlled test after each correction. Avoid changing height, mode, location, and data settings all at once.
For charging, storage, and pre-session inspection, use the timing system maintenance checklist. For the broader course plan, start with the timing system selection guide. Model-specific troubleshooting belongs with the setup support team and the relevant product manual.
Consistency beats adjustment by instinct: set the beam, write it down, test it at walking and running speed, and repeat the same routine at the next session.
Further reading
A review of photocell use in sport discusses how limb movement, start method, and timing-gate configuration can affect what a beam-break system records. See Concurrent-Validity and Reliability of Photocells in Sport. Use published research as context, while retaining your own documented field protocol.