01TIMER.COM / Timing system guides / 40-yard dash timing
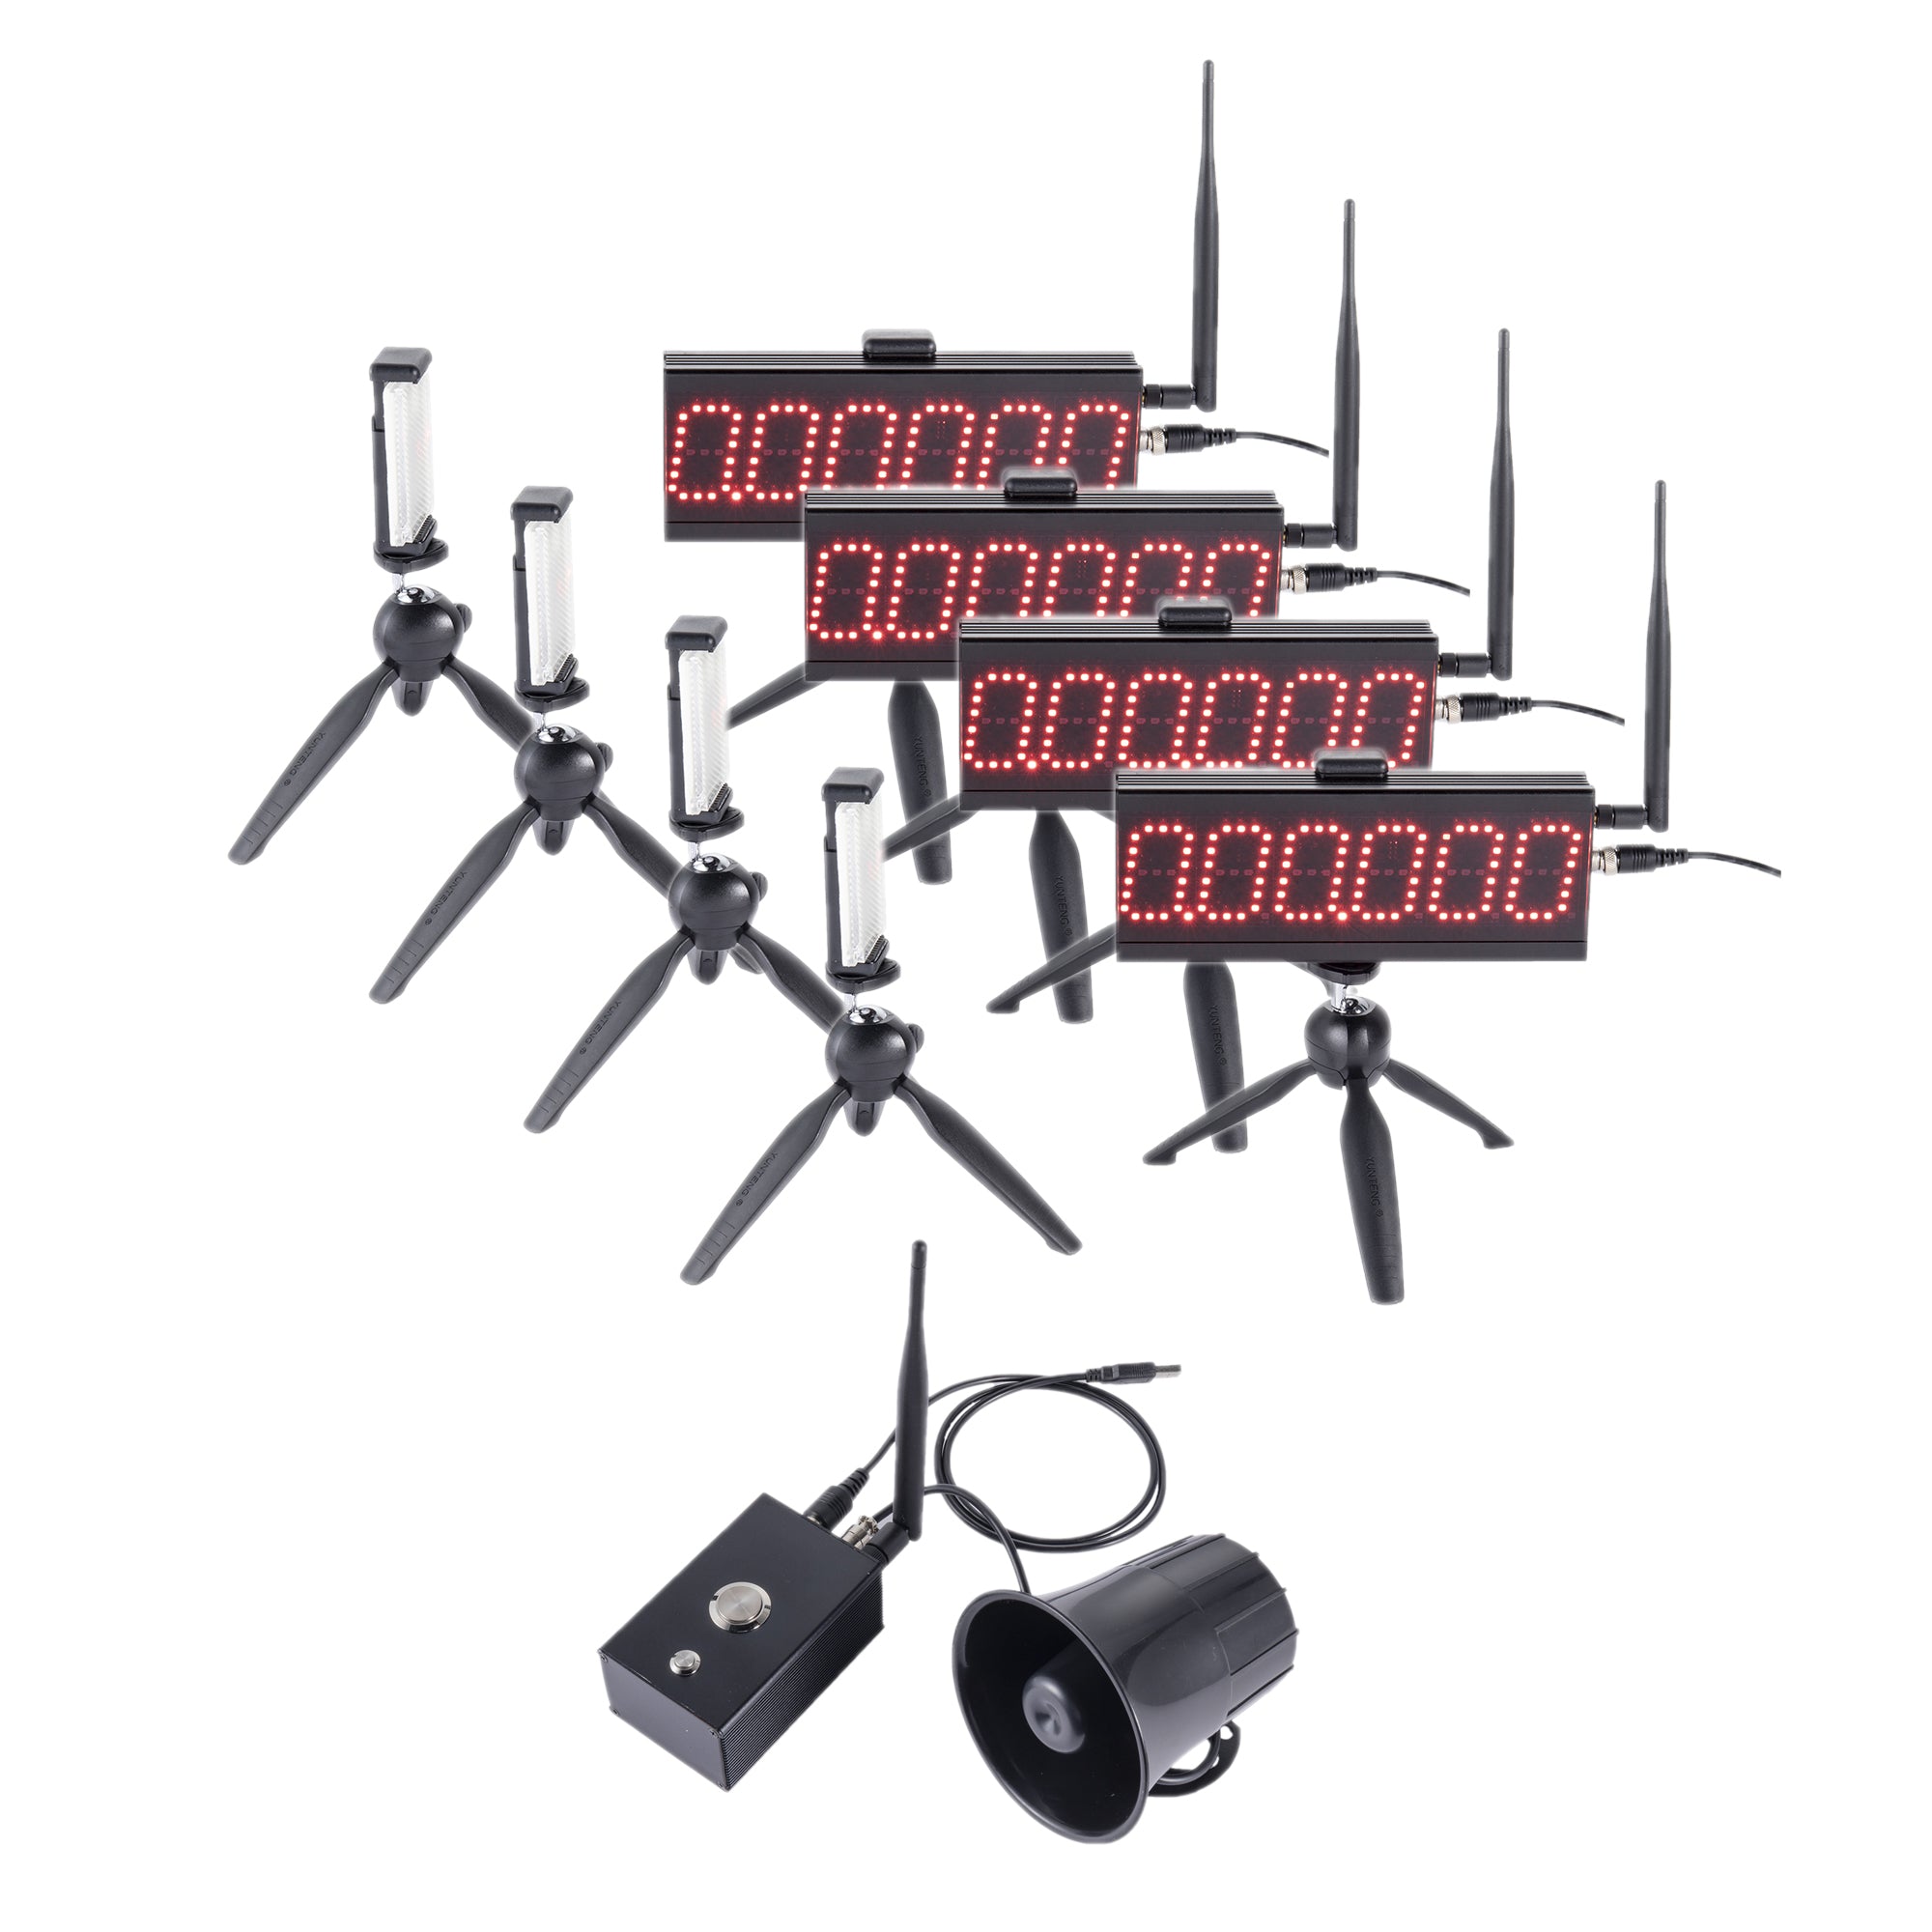
40-Yard Dash Timing Gates: Setup and Testing Guide
A useful 40-yard dash result comes from a repeatable course, a clear timing rule, and a record of how the run was performed. Timing gates remove the need to judge a finish by eye, but they do not make different test setups interchangeable. Keep the start method, gate locations, surface, footwear policy, and recording method consistent whenever you compare sessions.
Decide what starts and stops the clock
Write the timing rule before testing. A common field setup lets the athlete begin from a stationary stance and uses a start gate or start procedure that is fixed for every attempt. The finish gate stops the result when the runner crosses its beam. The important point is not to mix a hand-started run with a gate-started run in the same data set.
Choose the athlete's start position as well. A three-point stance, a standing start, and a moving start answer different questions. Use one position for the entire group, give athletes a chance to rehearse it, and record it beside the result. When comparing a new result with an outside benchmark, first confirm that the start and timing conventions match.
Build the lane before placing the gates
- Measure and mark the start line and finish line on a straight, clear lane.
- Check that athletes have adequate run-out space beyond the finish.
- Use the same surface for all trials in a session and note material or weather changes that affect footing.
- Keep cones, coaches, bags, and waiting athletes outside the beam path and sprint lane.
Place the start and finish hardware after the marks are fixed. Do not estimate the distance from the tripod positions. The measured course is the reference; the equipment is aligned to it.
Set the timing gates at the course marks
Mount each unit on a stable support and align the transmitter and receiver according to the model instructions. Check the beam at the height you intend to use for every athlete. A beam that sits low can be crossed by a limb before the body reaches the line; a beam that sits high can behave differently with another posture. There is no universal height that makes every protocol equivalent. Consistency is what makes your own results interpretable.
Walk through the course and perform several controlled beam breaks before the athletes run. Confirm the display, receiver, or recording device receives the intended event. Then make one practice sprint at the expected athlete path. If the gate triggers when nobody crosses the line, remove reflective objects, moving people, or unstable tripods from the area and re-check alignment.
Add a split only when it changes the coaching decision
A middle split can separate the early acceleration portion of a sprint from the full-course result. It is useful only when the staff will review it consistently. If you add one, measure its position from the same start reference and use a label that cannot be confused with the final time.
| Record | Why it matters |
|---|---|
| Full 40-yard result | The headline outcome for that protocol. |
| Optional split result | Shows a defined part of the run without replacing the final result. |
| Start stance and start rule | Explains how the clock began. |
| Surface, footwear, and lane | Helps identify changes between test days. |
| Attempt number and notes | Separates a clean trial from a restarted or interrupted run. |
Run the session in a predictable order
Warm up first, then give each athlete a low-pressure rehearsal through the lane. Keep one person responsible for the equipment and another for confirming athlete order and result labels. This prevents a correct time from being attached to the wrong athlete or trial.
Use the same rest policy across the group. If an athlete slips, is obstructed, or has a gate problem, mark the attempt as invalid rather than quietly mixing it with clean runs. Re-run only after the lane and hardware are back in the same state.
Review the result before changing the setup
An unexpected time is a prompt to inspect the process, not evidence that the athlete or device is wrong. First check the lane, athlete path, gate alignment, and recorded name. Then repeat a controlled trial if needed. Changing the start method, beam height, and lane position at once makes it impossible to know which change affected the result.
Practical rule: keep a one-page protocol with the measured marks, timing mode, gate height, start stance, and data fields. Reuse it each test day.
Related timing resources
For equipment planning, see the wireless timing system selection guide. For a setup that records segment results, review the S-004 segment timing system page and confirm model-specific operation before use. Store results with the approach described in the athlete testing data workflow.
Further reading
For a general description of the test, consult Topend Sports: 40 Yard Dash. Its procedure should not replace the documented rules used by your own program.