01TIMER.COM / Timing system guides / Change of direction
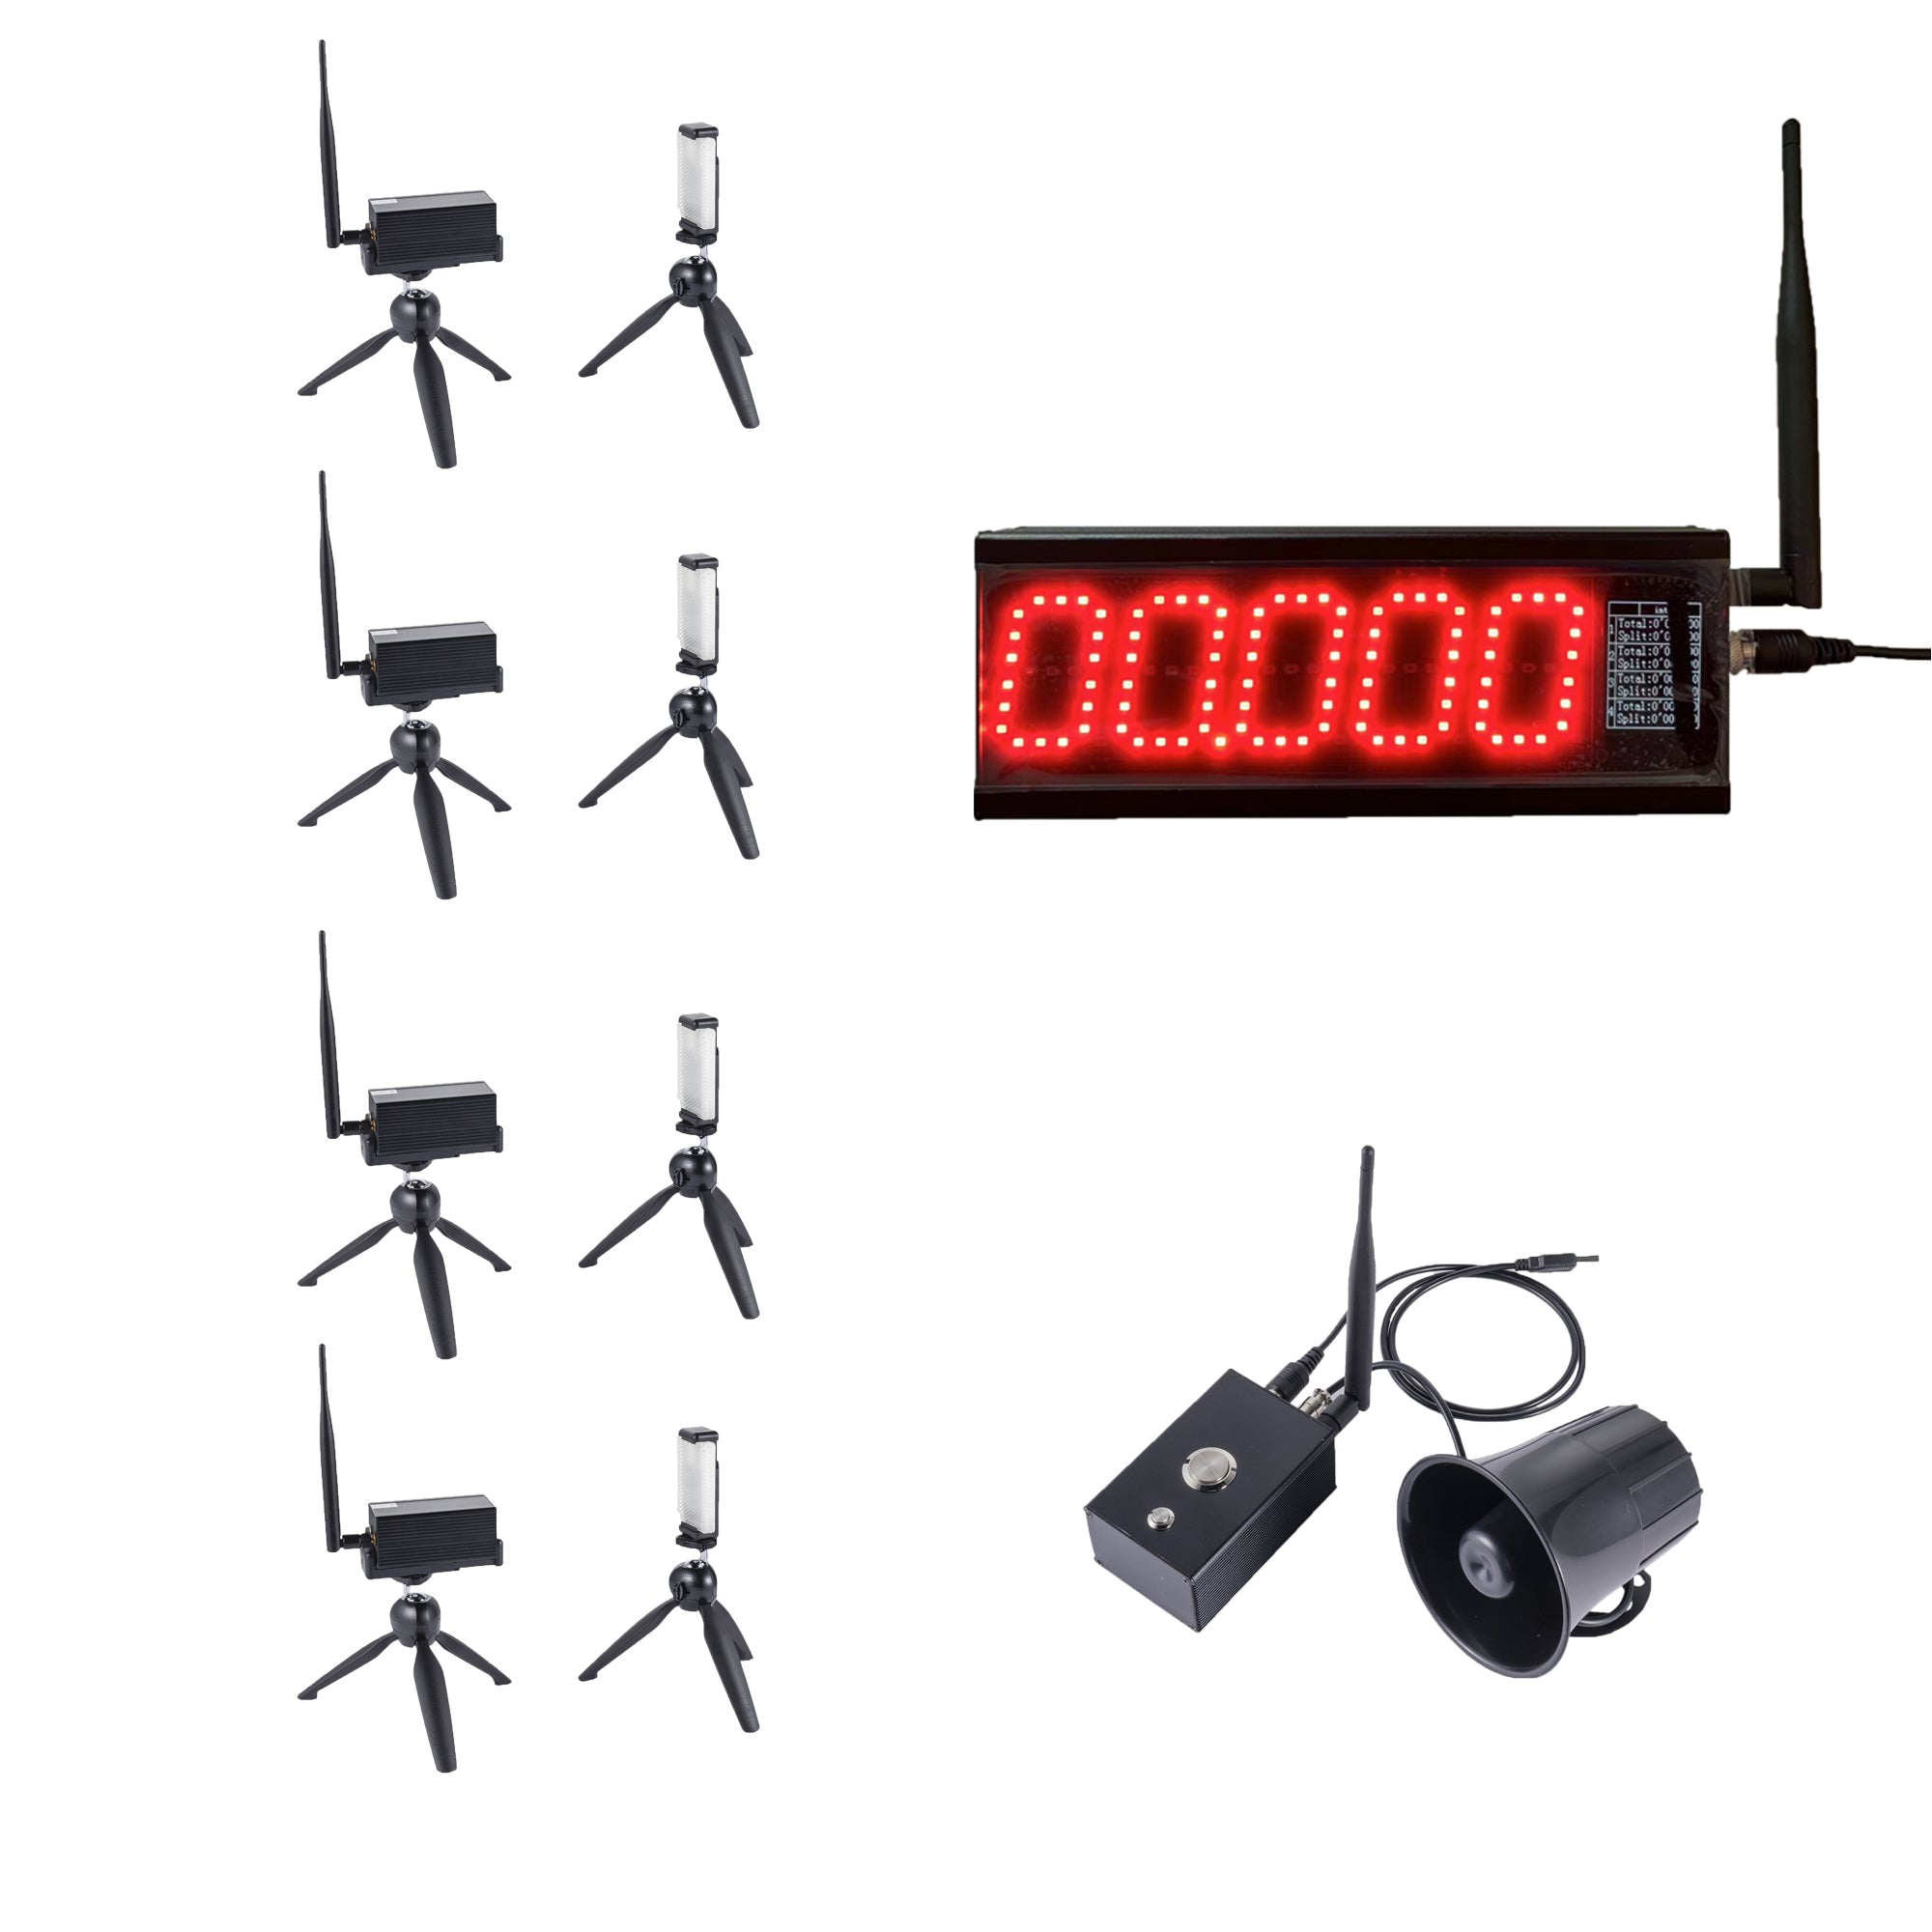
How to Time a 505 Agility Test
The 505 measures a planned 180-degree change of direction. The timing number only means something when the approach distance, turn line, gate position, turning leg, and attempt rules stay fixed.
Choose the 505 version before setting cones
Traditional and modified 505 protocols do not measure exactly the same movement. They can differ in the approach, the timed section, the turning side, and the way the athlete enters the turn. A biomechanics study of traditional and modified 505 tests describes these differences and uses separate trials for each version. Read the published 505 test study when you need to compare your field protocol with research.
Write the version on the session sheet. Include the measured distances, which foot turns, where timing begins, where it ends, and whether the result is taken from one direction or both. A named protocol is more useful than a result labelled only "505."
Mark the approach, turn, and exit
Measure the course with a tape rather than estimating from steps. Use a start mark that gives every athlete the same run-in. Mark the turn line with a visible strip or flat marker, and leave enough space beyond the exit gate for controlled deceleration.
| Course item | What to write down | Field check |
|---|---|---|
| Approach | Distance from the start position to the timing section and turn line. | Walk the approach from the athlete's starting stance. |
| Turn line | Exact line or marker that defines the 180-degree change. | Confirm the athlete can see it from the approach. |
| Exit | Finish location and the movement that stops the clock. | Provide clear space after the finish for braking. |
| Direction | Left or right turn, or separate scores for each side. | Label the direction before the first scored attempt. |
Place the timing gates around the rule
Decide first what the time represents. Some groups time the approach-to-exit section; others use a short timed distance around the turn. Position the start and finish gates only after that choice is documented. The gate should detect the same body passage on every run, and the athlete should not have to reach for it or change the route to break the beam.
Align the equipment, check the beam height, and run several passes at training speed. The timing-gate alignment guide covers the equipment side of this check. The course marking still needs a staff member who watches the actual path.
Teach the turn before recording attempts
Give athletes a short walk-through and an unscored practice run. Explain the start stance, the line they must reach, the required turn, and the finish. Keep those instructions the same for the whole group. A coaching cue that changes the route for one athlete changes the test.
Decide how many scored runs each athlete receives, how much recovery is provided, and what makes a run invalid. A missed line, an early start, or a moved marker should be recorded as an exception, not silently converted into a time.
Record the turn with the result
Store the athlete ID, date, course version, surface, direction, attempt number, time, and validity status. If you test both sides, keep left and right results in separate rows. This makes a later comparison possible without guessing which leg was used.
Do not rank a result against a published benchmark when the distances or start rule differ. For a related but different change-of-direction course, see the 5-10-5 agility timing guide. For multi-point gate layouts, review the current S-007 product page and confirm the intended mode before ordering.
Keep the turn visible: a clear 505 diagram and a fixed timing rule do more for repeatability than changing equipment after the session has started.