01TIMER.COM / Timing system guides / Flying sprint setup
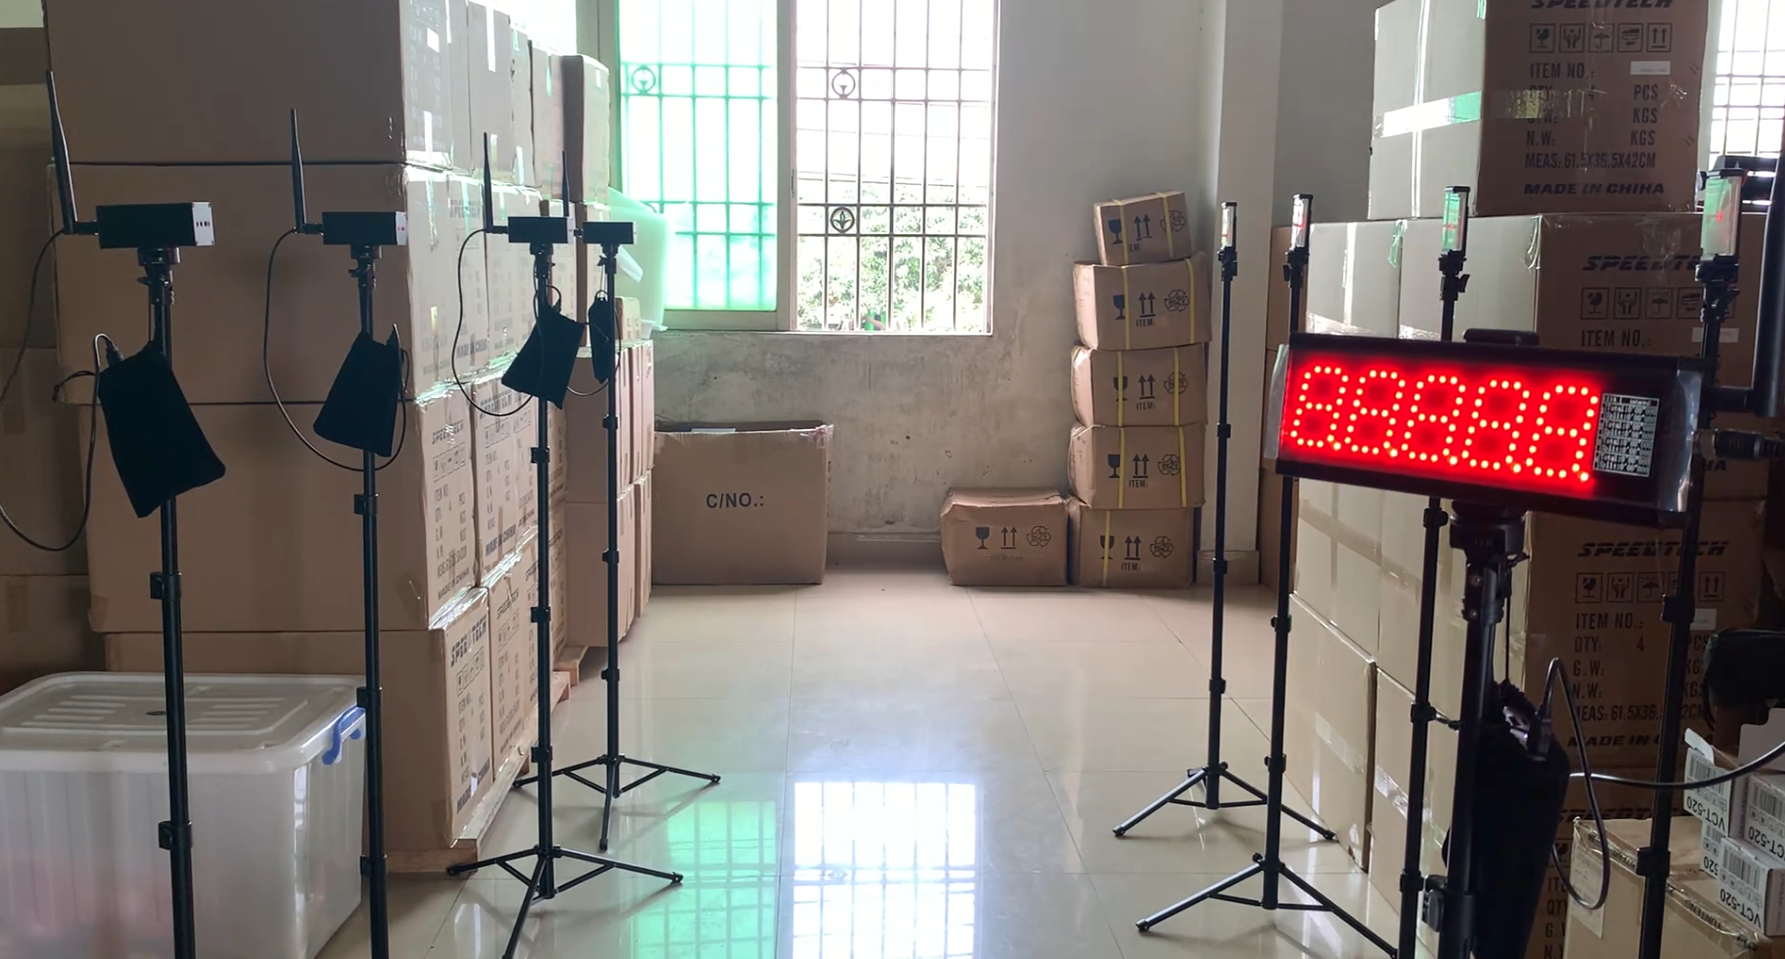
Flying Sprint Timing Gates: A Setup Guide for Coaches
Flying sprint timing gates measure a defined section after the athlete has begun accelerating. The recorded time only makes sense when the run-in, timed zone, beam positions and run-out stay consistent. Build those four parts on paper before carrying equipment to the track.
Define the four parts of the course
The run-in gives the athlete space to accelerate before the first timing line. The timed zone begins when the athlete breaks the entry beam and ends at the exit beam. The run-out gives the athlete room to decelerate safely after the measured section.
Mark all four boundaries: run-in start, timed-zone entry, timed-zone exit and run-out end. Record distances using the same reference points each time. A diagram prevents one coach from measuring to a tripod while another measures to the beam line.
| Course part | Purpose | What to record |
|---|---|---|
| Run-in | Allows acceleration before timing starts | Start mark, distance and start instruction |
| Entry timing line | Starts the measured split | Beam position, height and lane |
| Exit timing line | Ends the measured split | Beam position, height and timed distance |
| Run-out | Provides a clear deceleration area | Available distance and safety boundary |
Keep the flying-start distance fixed
An athlete who begins farther behind the entry gate has more room to accelerate. That changes the test. A 2015 study of well-trained junior soccer players examined different flying-start distances and found that even small changes could alter sprint times enough to affect comparisons. Review the published abstract on flying-start correction factors for the tested distances and limitations.
Choose the run-in distance for the purpose and athlete group, then keep it. Place a visible start marker and write the start instruction on the session sheet. Do not allow one athlete to drift forward because the queue is moving quickly.
If the run-in must change, label the new setup as a different protocol. Do not merge those results into the earlier series without noting the change.
Set the timed zone to answer one question
A short timed zone can be used to examine speed over a narrow section, while a longer split averages performance across more distance. Neither choice is automatically better. The timed zone should match the coaching question and the available run-in and run-out.
Research comparing timing-gate estimates with radar measurements found that 5 m and 10 m splits could produce different estimates of maximum sprint speed. The PubMed record for the 5 m versus 10 m split study describes the 30 m protocol and its amateur rugby sample. Treat that study as method evidence, not a universal distance prescription.
For routine coaching, the clearest approach is to name the protocol in the result: for example, a defined run-in followed by a defined flying split. The label lets another coach rebuild the same course.
Align both timing lines the same way
Place the entry and exit beams across the intended athlete path. Use stable stands, keep equipment outside the running line and match beam height unless the equipment manual or test method requires otherwise. Mark tripod positions before the first trial.
Beam height can affect which body segment triggers a single-beam system. A 2017 study comparing timing lights at different heights found that the recorded sprint times were not interchangeable across the tested arrangements. The study abstract on timing-light height explains the setup and results.
Walk through each beam, then complete one controlled run. Confirm that only the entry and exit events appear in the result. If an arm, waiting athlete or loose object creates a trigger, clear the lane and repeat the check. Use the alignment and beam-height field guide to document the position.
Choose a timing system that fits the split layout
A two-point flying split needs an entry and exit timing event. A session that records several zones needs more timing points and a result format that keeps the splits in order.
The S-007 multi-point laser timing system is the site's product path for interval, segment and multi-track layouts. Its current page tells buyers to confirm accuracy, communication distance and power by model and operating mode. For a simpler short-sprint start-to-finish workflow, compare the S-009 sprint timer. Product pages govern current package details.
Gate count follows the data requirement. Do not add an intermediate line because an unused split looks impressive on the screen. Each point needs a name and a reason.
Run the session without changing the protocol
- Measure and mark the run-in, entry line, exit line and run-out.
- Write the start instruction and decide how many valid trials each athlete receives.
- Align the timing gates and test both triggers with an empty lane.
- Record athlete ID, attempt, run-in, timed distance and any invalid-result reason.
- Stop the lane after a moved tripod, missed trigger or obstruction, then test again.
Keep the raw results. If the protocol uses a best time or an average, decide that rule before the session and retain every valid trial used in the calculation. The repeatable athlete testing workflow covers athlete IDs, attempts and context notes.
Comparison rule: a flying time belongs to its run-in distance, timed zone and beam setup.
Questions about flying sprint timing gates
What is a flying sprint?
It is a sprint with an untimed run-in before the athlete enters a defined timed zone. The result does not describe the complete acceleration from rest.
Where should timing gates go?
Place one timing line at the entrance to the timed zone and another at its exit. Mark the run-in start and run-out separately.
Can times be compared when the run-in changes?
Treat a changed run-in as a changed protocol. Published research shows that the flying-start distance can change the recorded result.