01TIMER.COM / Timing system guides / Start and reaction testing
Reaction Time Testing: Start Rules and Timing Data
Reaction time and sprint time are related, but they are not the same measurement. A useful test states when the clock starts, what movement stops it, and which part of the result belongs to the athlete versus the course.
Define the signal and the measured event
A reaction-time protocol needs a start signal that the athlete can perceive and a recorded event that follows it. That event might be the first movement, a force response in a starting block, or a body crossing a timing gate. Those choices produce different measurements.
Research on sprinters has found that starting procedures, false-start rules, and the time held before a signal can affect reported reaction times. The study on starting procedures and sprinters' reaction time is a useful reference when a program needs to explain why two start formats should not share one benchmark.
Write a one-sentence definition on the session sheet. For example: "Time begins at the approved audio signal and ends when the athlete breaks the first gate." If the equipment does not capture the start signal, call the result elapsed start-to-gate time rather than pure reaction time.
Keep reaction and movement time separate
| Field | What it describes | Why it stays separate |
|---|---|---|
| Start signal | Audio, visual, or operator-controlled event that begins the trial. | A different signal can change the response task. |
| First response | Movement or force event used as the reaction endpoint, when captured. | It may occur before the athlete reaches a running gate. |
| Gate time | Elapsed time until the athlete breaks the defined beam. | It includes both response and movement to the gate. |
| False-start status | Valid, invalid, or rerun with a reason. | It prevents a rejected attempt from becoming a hidden data point. |
A short gate distance can make the result sensitive to the start setup. A longer distance includes more acceleration. Neither is automatically better. Choose the distance because it answers the coaching or event question, then keep it fixed.
Standardize the start line
Use the same stance, foot position, start-line offset, signal wording, and operator sequence for every athlete. Give a familiarization attempt before scored trials. If athletes stand too close to the first gate, an accidental body movement can trigger it before the signal, so mark the safe start position and test it with the actual equipment.
Decide whether a false start ends the attempt, receives a warning, or requires a rerun. That policy belongs to the program or event. The timing system can record an event, but it cannot choose the official rule for you.
Check synchronization before the session
Run several controlled trials with the start signal and the gate in their final positions. Check that the signal reaches every athlete consistently, the gate detects the intended body passage, and the displayed or stored result carries the right athlete ID. Repeat the check after moving a gate, changing the start method, or switching operators.
Use the beam alignment and height guide for the physical gate check. For a comparison of electronic gates and manual timing, see laser timing gates versus stopwatch timing.
Store enough context to explain the number
Record athlete ID, date, signal type, stance, start offset, gate distance, attempt number, reaction field if available, elapsed gate time, validity status, and operator notes. Keep invalid attempts with their reason. A clean summary can show selected results, but it should not erase the raw session.
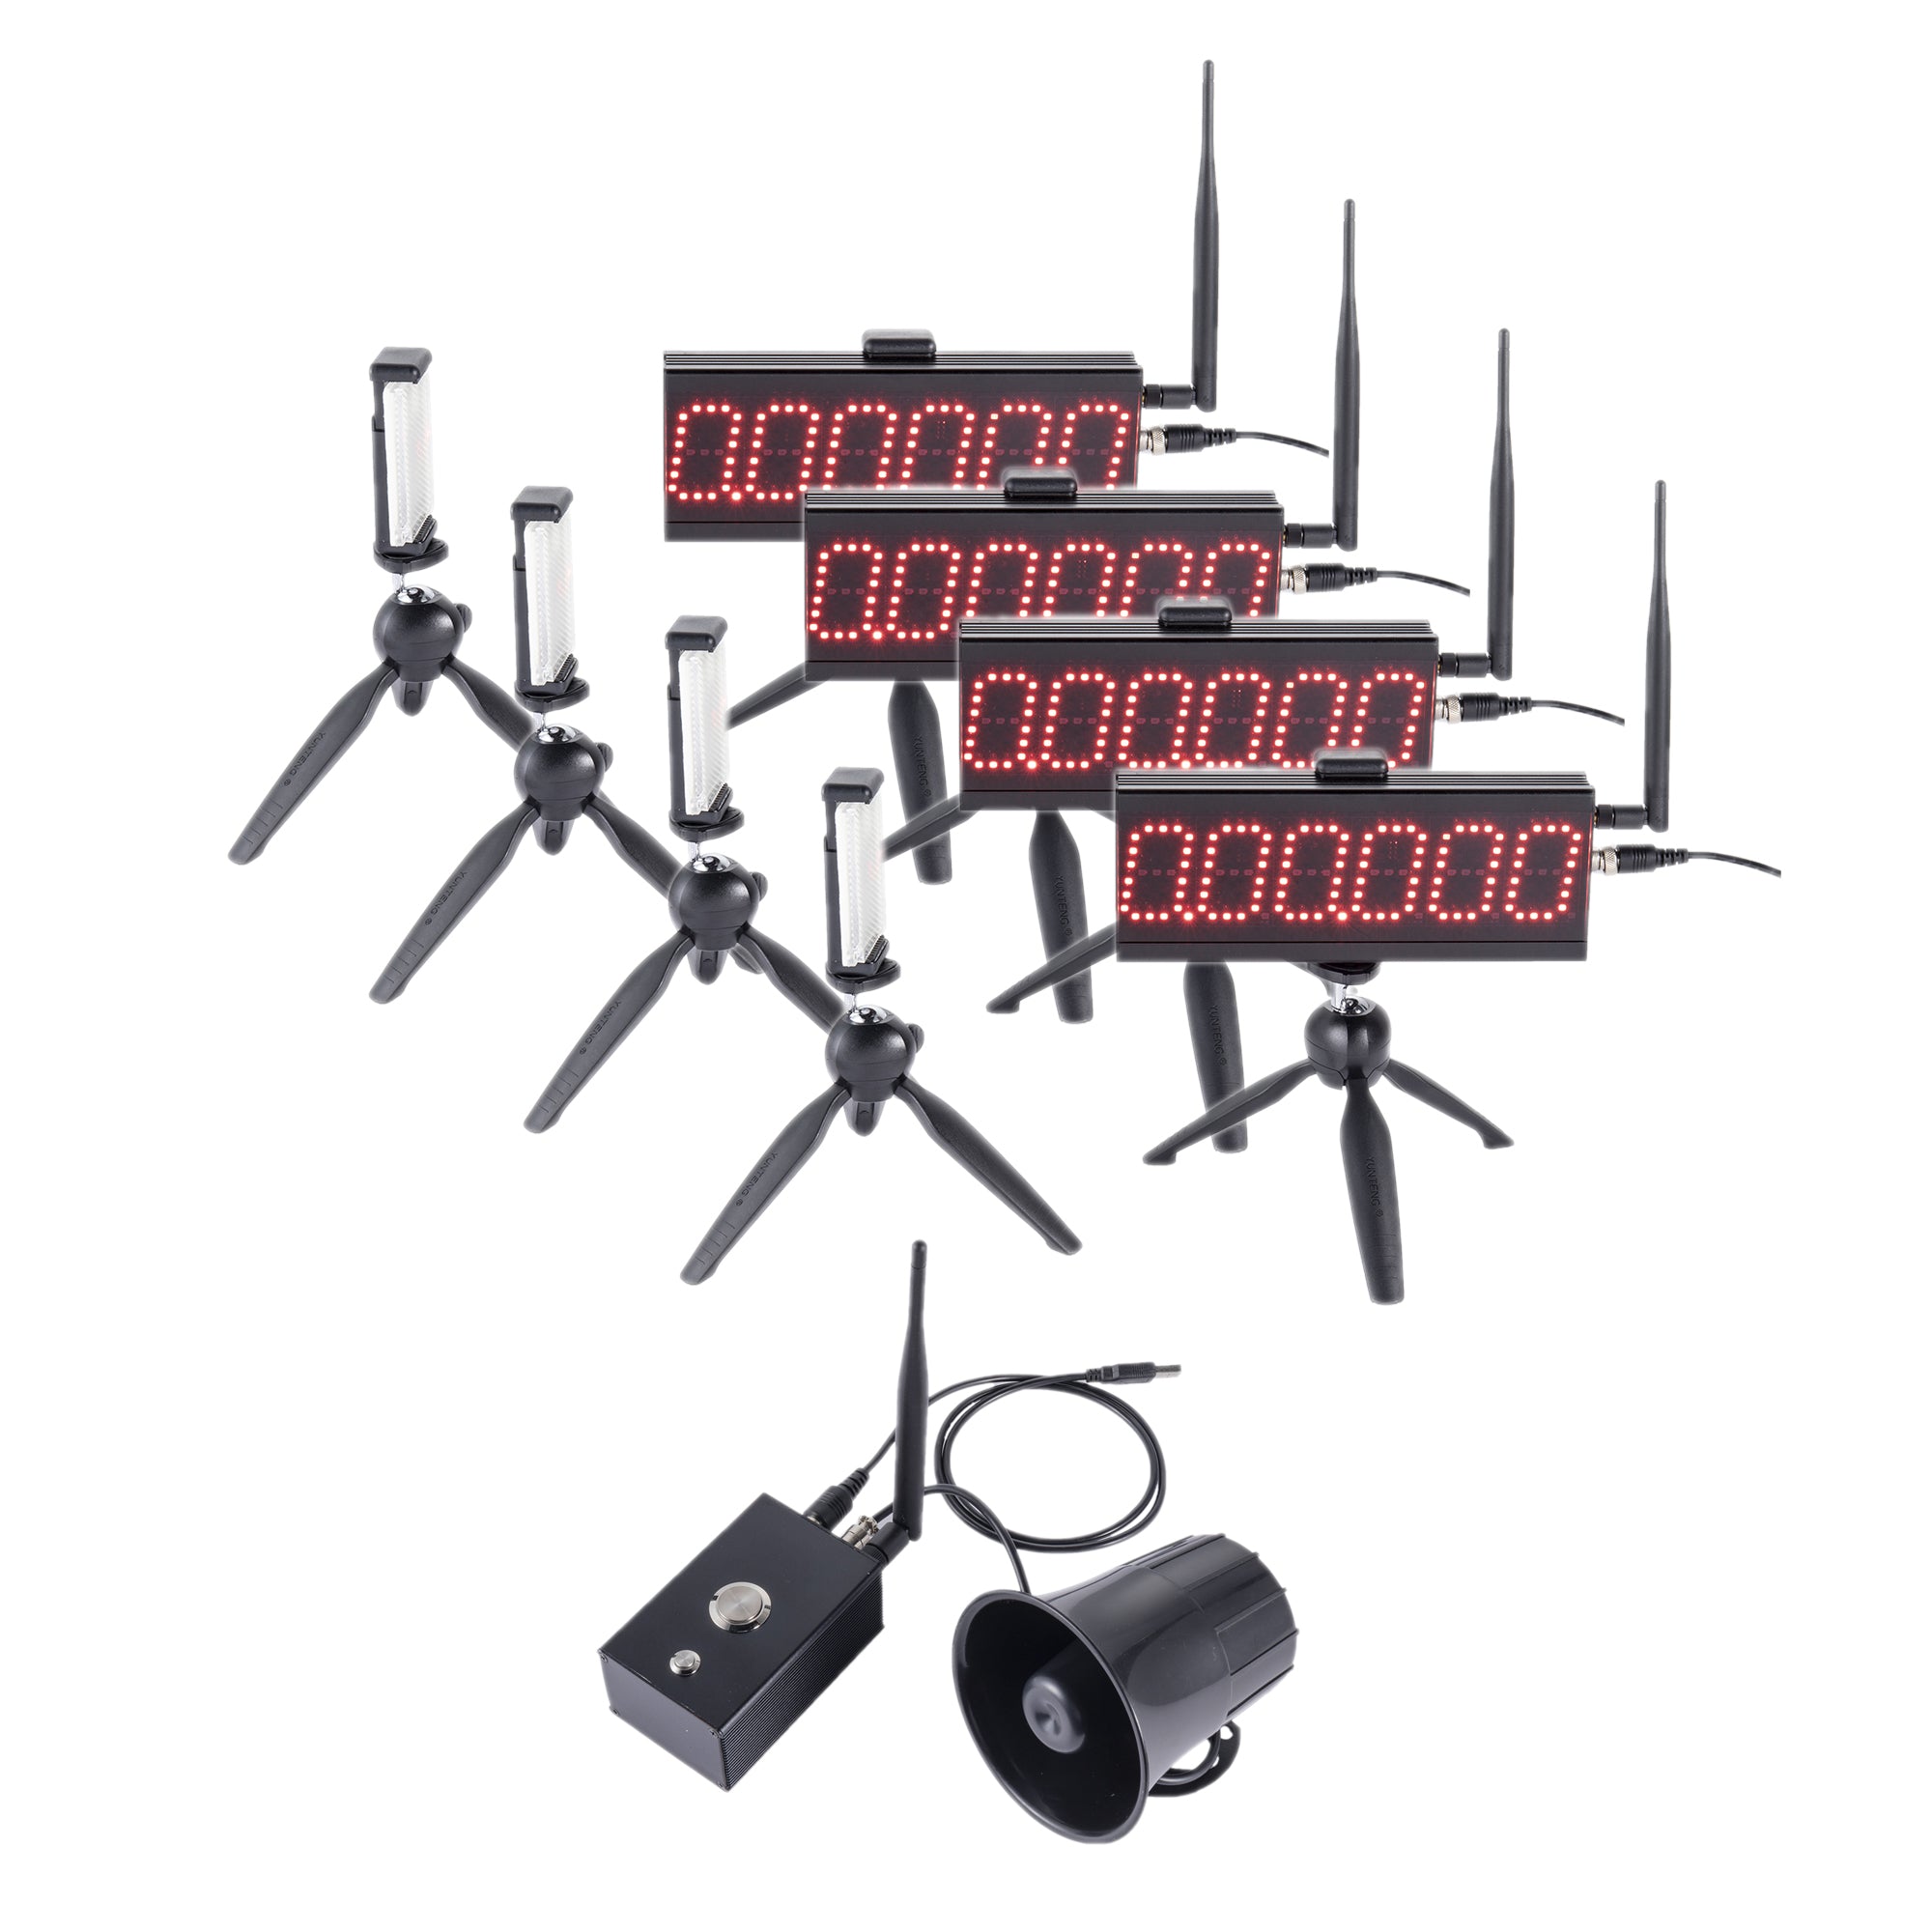
For a multi-channel layout, review the current S-004 Segment Wireless Timing System page for published model information. Confirm whether the chosen product and start method support the exact reaction-time definition in your protocol.
Name the clock: once the start event and gate event are written down, the team can discuss a result without arguing over what the time includes.