01TIMER.COM / Timing system guides / S-006 course survey
Surveying a Long Timing Course Before Installing the S-006
A long timing course can fail far from the operator. The finish may be around a bend, the display may face the wrong audience or a stand may sit where people and vehicles pass. A course survey catches those problems before timing equipment is spread across the site.
Walk the complete route without equipment
Begin with a map and a distance measurement. Mark the exact start and finish lines, then walk the route in both directions. Note bends, buildings, trees, changes in elevation, public crossings and access points. Record where an operator can stand without losing control of the session.
The S-006 product page describes a long-distance wireless laser package for one person's start-to-finish running time. Its listed users include outdoor timing lanes and venue setups that need extended wireless range. That makes the route, rather than the equipment case, the correct starting point.
Mark each station and its owner
Give the start, finish and display positions unique station names. Assign a person to each remote position when the route prevents one operator from seeing the full course. Write down how staff will confirm that the lane is clear and how they will stop a start if someone enters the route.
The long timing course map becomes the shared setup reference. Staff at opposite ends should use the same station names when they report a power, alignment or access problem.
| Station | Survey question | Record before setup |
|---|---|---|
| Start | Can the athlete and starter use one clear rule? | Line, command and staff position |
| Finish | Is the crossing straight and protected? | Line, run-out area and beam position |
| Display | Who needs to read the result? | Viewing direction and power location |
| Control point | Can the operator communicate with both ends? | Radio check and stop procedure |
Treat the published range as a planning reference
The product page lists best-condition communication within 3 km and typical conditions at 1.5 to 2 km. It also tells buyers to confirm outdoor conditions. Buildings, terrain and the exact station arrangement belong in the venue check, so a quoted distance should not replace an on-site communication test.
Place the equipment at the proposed positions and test the complete sequence before the event day. If the route changes, test again. The wireless versus wired timing guide covers the broader layout questions for temporary and fixed sites.
Match the package to the map
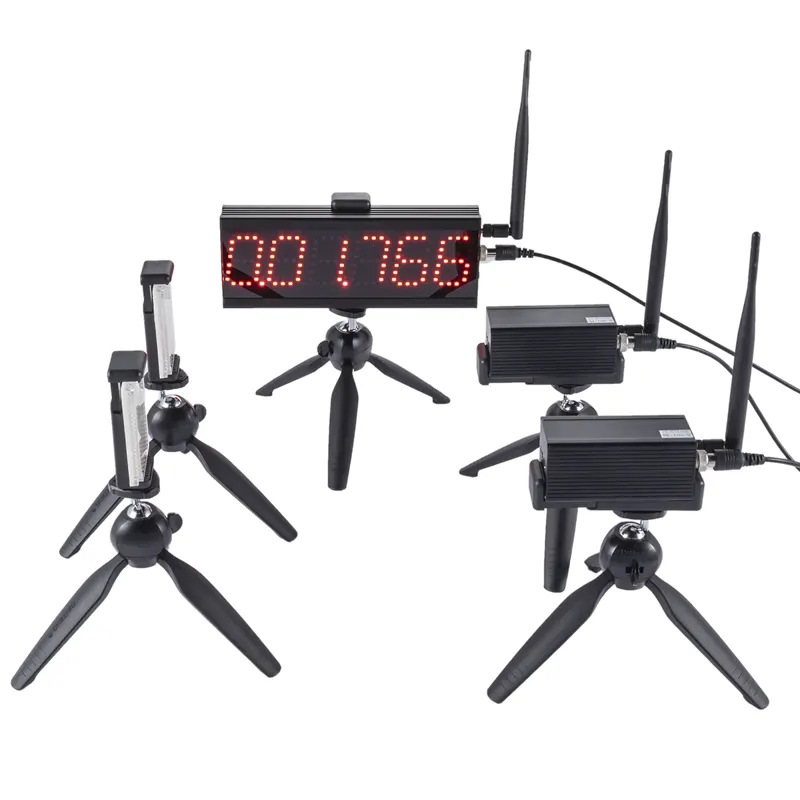
The listed S-006 package contains one start laser sensor, one finish laser sensor, a 6-digit high-brightness LED display, two reflectors, five tripods, three power cables, three antennas, a screen clip and an equipment case. Check the current product page and delivered package before deployment.
On the map, show where every sensor, reflector, display, stand and power item will go. The page lists DC 5V 2A power and timing accuracy up to 0.001 second. Keep power arrangements protected and follow the current manual rather than improvising a site connection.
Rehearse the finish workflow
Align the start and finish according to the model instructions, then walk each beam. Follow with one controlled run over the planned route. Confirm that the expected start event occurs, the finish crossing stops the time and the result reaches the intended display or operator.
At the finish, keep the athlete moving through the line and leave a clear run-out area. If the finish stand is moved during the rehearsal, reset its position and repeat the alignment check. The alignment and beam-height guide provides a recordable procedure.
Keep a course sheet with the results
Store the route map, station names, measured distance, start rule, beam positions and communication check with the result file. A time without that context is difficult to compare when the next session uses a slightly different finish or operator location.
For a course with laps, checkpoints or several split locations, plan the required events before choosing equipment. The timing-system selection guide separates start-to-finish, lap and multi-point needs.
Course rule: prove the full route with one rehearsal before opening the timed session.