01TIMER.COM / Timing system guides / S-007 layout
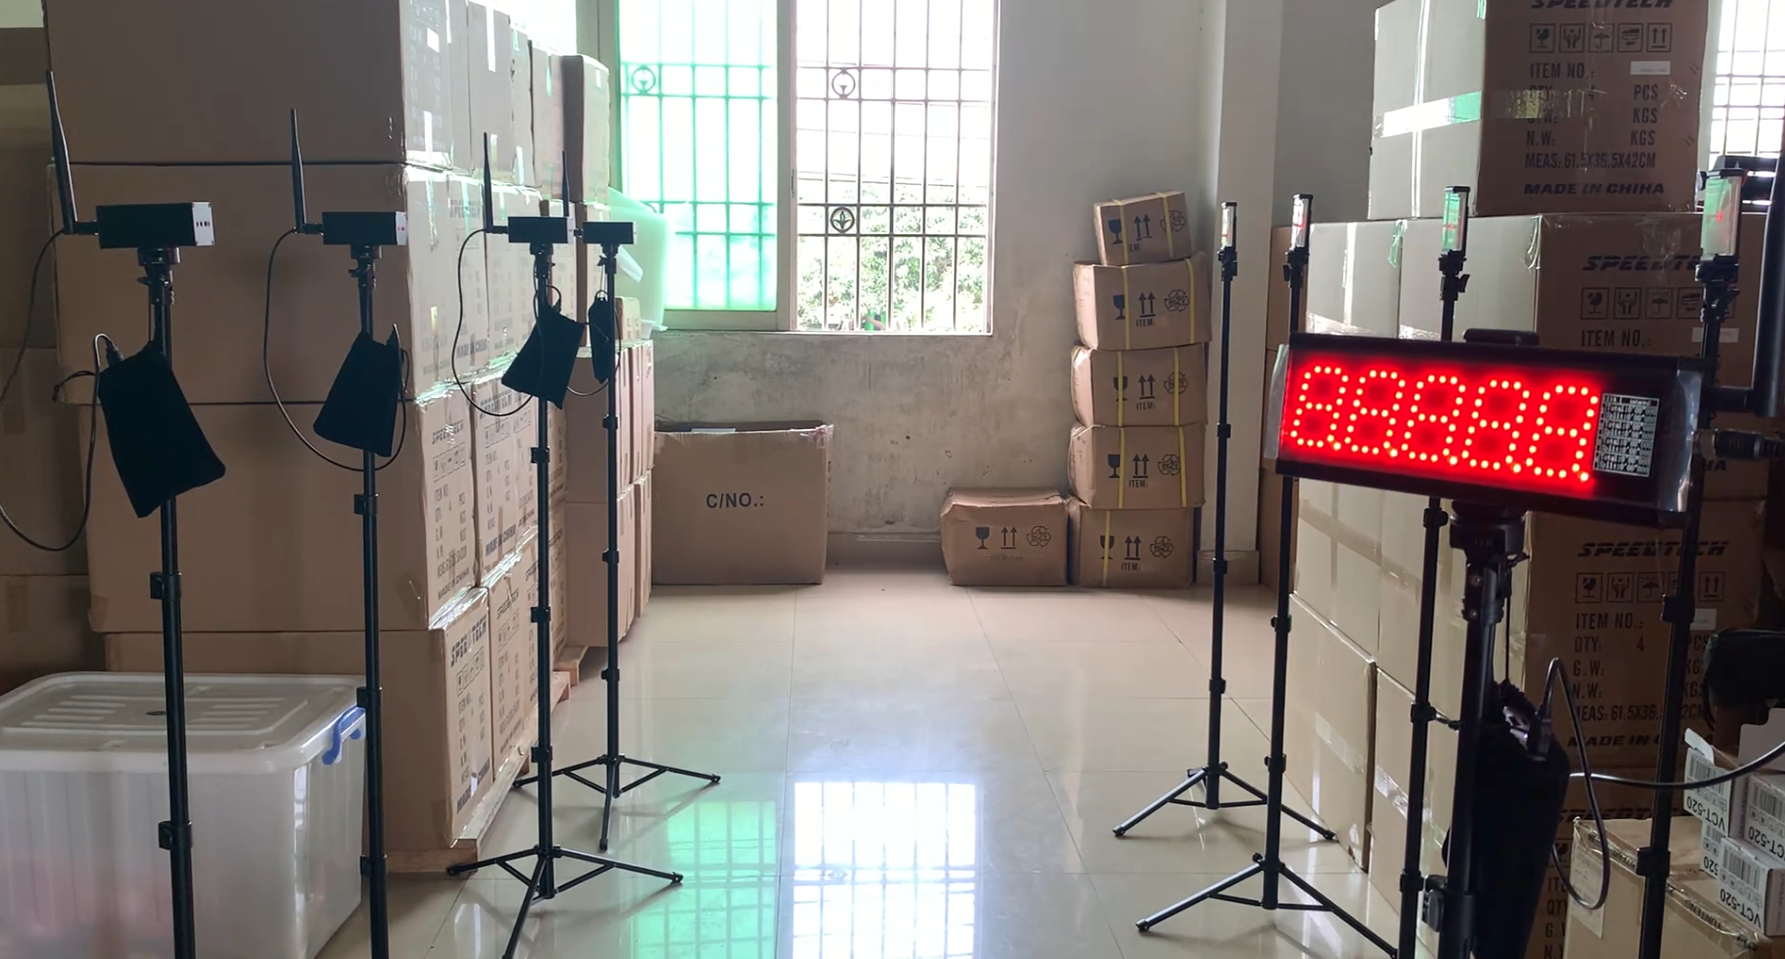
Designing a Multi-Point Timing Layout With S-007
A multi-point system starts with a map. Before choosing gate positions, define which moments matter in the run: start, 10 m split, 30 m split, finish, lap or another event. The S-007 is presented for interval, segment and multi-track timing, so the useful work is matching those events to a layout the operator can read.
List the events before the equipment
Write the course from left to right or start to finish. Give every point a short ID such as START, SPLIT-1, SPLIT-2 and FINISH. Add the lane or track beside the ID. This list becomes the sensor map, the operator sheet and the column order in the results file.
The S-007 product page describes an advanced laser gate timing system for interval, segment and multi-track layouts. It lists a controller, laser timing gates, tripods, wiring accessories and setup support, while noting that package details should be confirmed for the requested configuration.
Draw the physical course
Measure each split from the same reference line. Mark the points on the surface and leave enough space around every stand for athletes, officials and equipment cases. A gate that is correct on paper can still be awkward when it sits in a merge lane or near a turn.
Keep a second copy of the map at the control position. Label the physical stands and the map with the same IDs. The S-400 planning guide offers a useful comparison for venues that may change sensor counts over time.
Separate timing points from display points
Not every timing point needs a display beside it. Decide which results athletes need to see immediately and which results are for later analysis. If a visible result is required, mention the viewing distance and display position when requesting a configuration. Do not assume a display arrangement from another model.
| Planning field | Example entry | Why it matters |
|---|---|---|
| Point ID | START, 20M, FINISH | Prevents mislabeled split data |
| Lane or track | Lane 2 or straight track | Connects a trigger to an athlete |
| Event | Start, split, finish or lap | Defines the result meaning |
| Visibility | Operator only or public display | Sets display and control needs |
| Site note | Indoor, turf, obstruction or slope | Supports configuration review |
Confirm configuration-dependent details
The S-007 page intentionally says to confirm timing accuracy, power accessories and communication distance by model and operating mode. That is the right place to be precise. Send the sensor count, point map, control location and expected operating conditions with a quote request instead of copying a number from a different package.
For a wireless layout, walk the proposed control route before the session. Check walls, vehicles, other equipment and any location where a tripod could be bumped. Record the test conditions in the session notes so a later setup can be compared fairly.
Run a point-by-point rehearsal
Test START first, then each split, then FINISH. Use a slow walk-through and read the event order aloud. If the result sequence is wrong, fix the map or channel assignment before inviting athletes. A clean rehearsal is easier to diagnose than a full run with six unlabeled times.
Once the order is correct, run one controlled effort and compare the expected split pattern with the recorded events. For recurring sessions, store the map beside the CSV results workflow so the data keeps its physical context.
Choose S-007 when the course needs points
S-007 makes sense when one finish time is not enough: sprint splits, interval stations, multi-track work or a performance-lab layout. If the requirement is only one athlete and one start-to-finish time, the S-001 setup guide describes a smaller test structure.
Planning rule: the number of sensor points should come from the decisions the session needs to make, not from a generic wish for more data.