01TIMER.COM / Timing system guides / B-01 field workflow
A Field-Day Workflow for the B-01 Portable Timing Kit
A portable timer earns its place when it arrives with every required part and produces the same test at a different field. That depends on a packing routine, a written lane plan and one check before athletes begin. The B-01 puts the equipment in a carry case; the operator still needs to make the session repeatable.
Give every case position a name
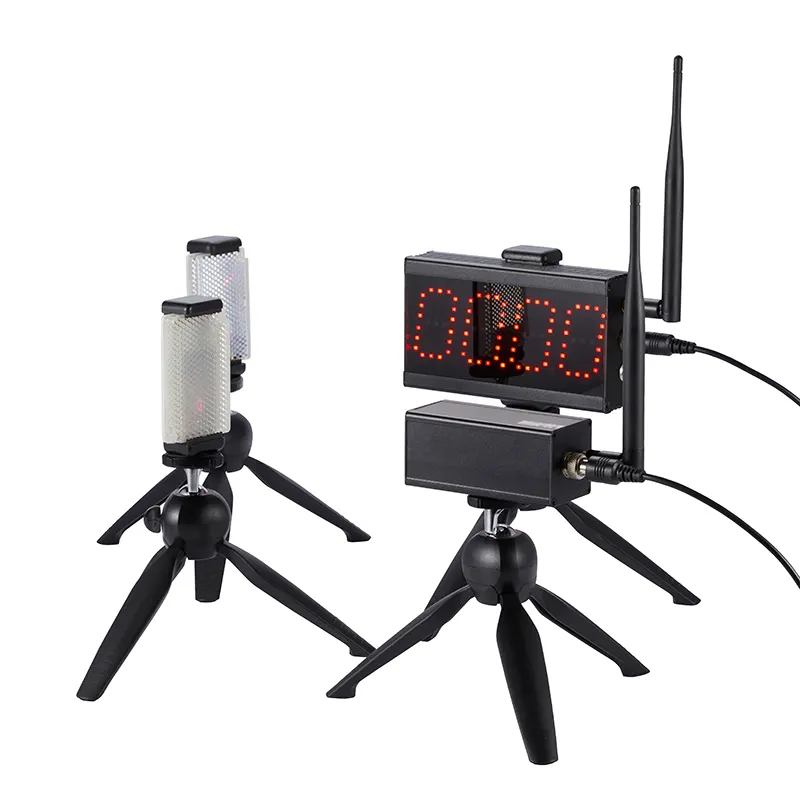
Start the day with the open case, not the course. The B-01 product page lists a timing host, laser sensor, tripod accessories, carry case and charging accessories. Use those categories on a laminated inventory card. If the delivered package contains additional parts, add them by the name used in the manual.
Check items out when the case is opened and back in before leaving. A missing cable discovered beside the track can cancel a session. A missing cable discovered in the equipment room can usually be replaced before departure. The timing-system maintenance checklist provides a longer inspection routine for charging, storage and damage checks.
Write a lane card before placing equipment
A lane card is a small record of the planned test. Note the venue, measured distance, start rule, finish position, surface, beam height and person recording results. For a simple sprint, mark one start and one finish. For a lap session, draw the pass point and describe what counts as a completed lap.
The B-01 page identifies start-to-finish tests and simple lap timing as its main applications. Keep those session types separate. If the first block is a 20 m acceleration test and the second is a lap drill, close the first result sheet before changing the operating mode.
Build the course from measured marks
Measure the lane first, then position the stands at the marks. Keep hardware outside the athlete's route and leave enough space beyond the finish for deceleration. On an unfamiliar field, look for slopes, loose turf, public foot traffic and places where a stand could be struck.
| Field check | Action | Session record |
|---|---|---|
| Distance | Measure start and finish marks | Test distance and method |
| Gate position | Place and align the timing point | Beam height and lane |
| Athlete route | Clear the run and deceleration area | Surface or weather note |
| Result ownership | Call the athlete before reset | Athlete ID and attempt |
Run two checks at different speeds
Walk through the timing point to confirm alignment and the expected display response. Then use one controlled run to check the complete start-to-finish sequence. A slow pass can reveal an alignment problem, while the controlled run checks how the arrangement behaves when an athlete follows the planned route.
Keep the selected height unchanged once testing starts. If a tripod moves, pause the queue and repeat the alignment check. The alignment and beam-height guide explains why the crossing position belongs in the test record.
Keep the result sheet simple
Use one row for each attempt: athlete ID, attempt number, time, validity and a short note. Record invalid attempts instead of deleting them. A false start, interrupted lane or moved stand explains why the result was excluded and helps the next operator understand what happened.
When several coaches share the kit, use the same column names and file naming rule. The athlete testing data workflow gives a practical structure for keeping sessions comparable after the equipment is packed away.
Close the session before closing the case
Count the accessories, inspect the stands and separate anything that needs attention. Save the result file and lane card together. If the next venue needs more timing points or a visible display, compare that requirement with the timing-system selection guide before changing the B-01 package.
Portable-kit rule: the case is ready only when the inventory card and the equipment agree.