01TIMER.COM / Timing system guides / field spare parts
Timing System Spare Parts Checklist for Field Sessions
A spare part helps only when it matches the equipment, travels with the right mounting pieces and has been tested before the first athlete arrives. Build the case from known failure points, not from guesswork.
Begin with the installed system
Write down the timing-system model, package, serial or asset label and the parts used at each station. Keep the original order confirmation or current manual with the inventory. The accessory pages on 01TIMER repeatedly instruct buyers to confirm compatibility by model, which is more reliable than judging a connector or mount by sight.
Draw a simple chain from start to result: start device, sensor or gate, wireless connection, timing host, display and power source. A spare-parts plan should cover the pieces whose loss or damage would stop that chain. It does not need to duplicate every item in the full system.
Build the field list by function
| Function | Possible spare | Record before packing |
|---|---|---|
| Mounting | Compatible tripod stand and required fittings. | Model, attachment point and assigned station. |
| Beam return | Compatible optical reflector. | Gate model, condition and alignment check. |
| Wireless connection | Compatible replacement or additional antenna. | System model and installation position. |
| Power | Confirmed power cable and charging accessories. | Connector, voltage information from the product record and unit served. |
| Start audio | Compatible small speaker when the mode uses one. | Start device, connection method and sound check. |
These are categories, not a universal package. A two-gate sprint setup and a multi-point venue do not have the same critical spares. Count the stations and identify what can be shared without delaying the session.
Tripods and mounting hardware
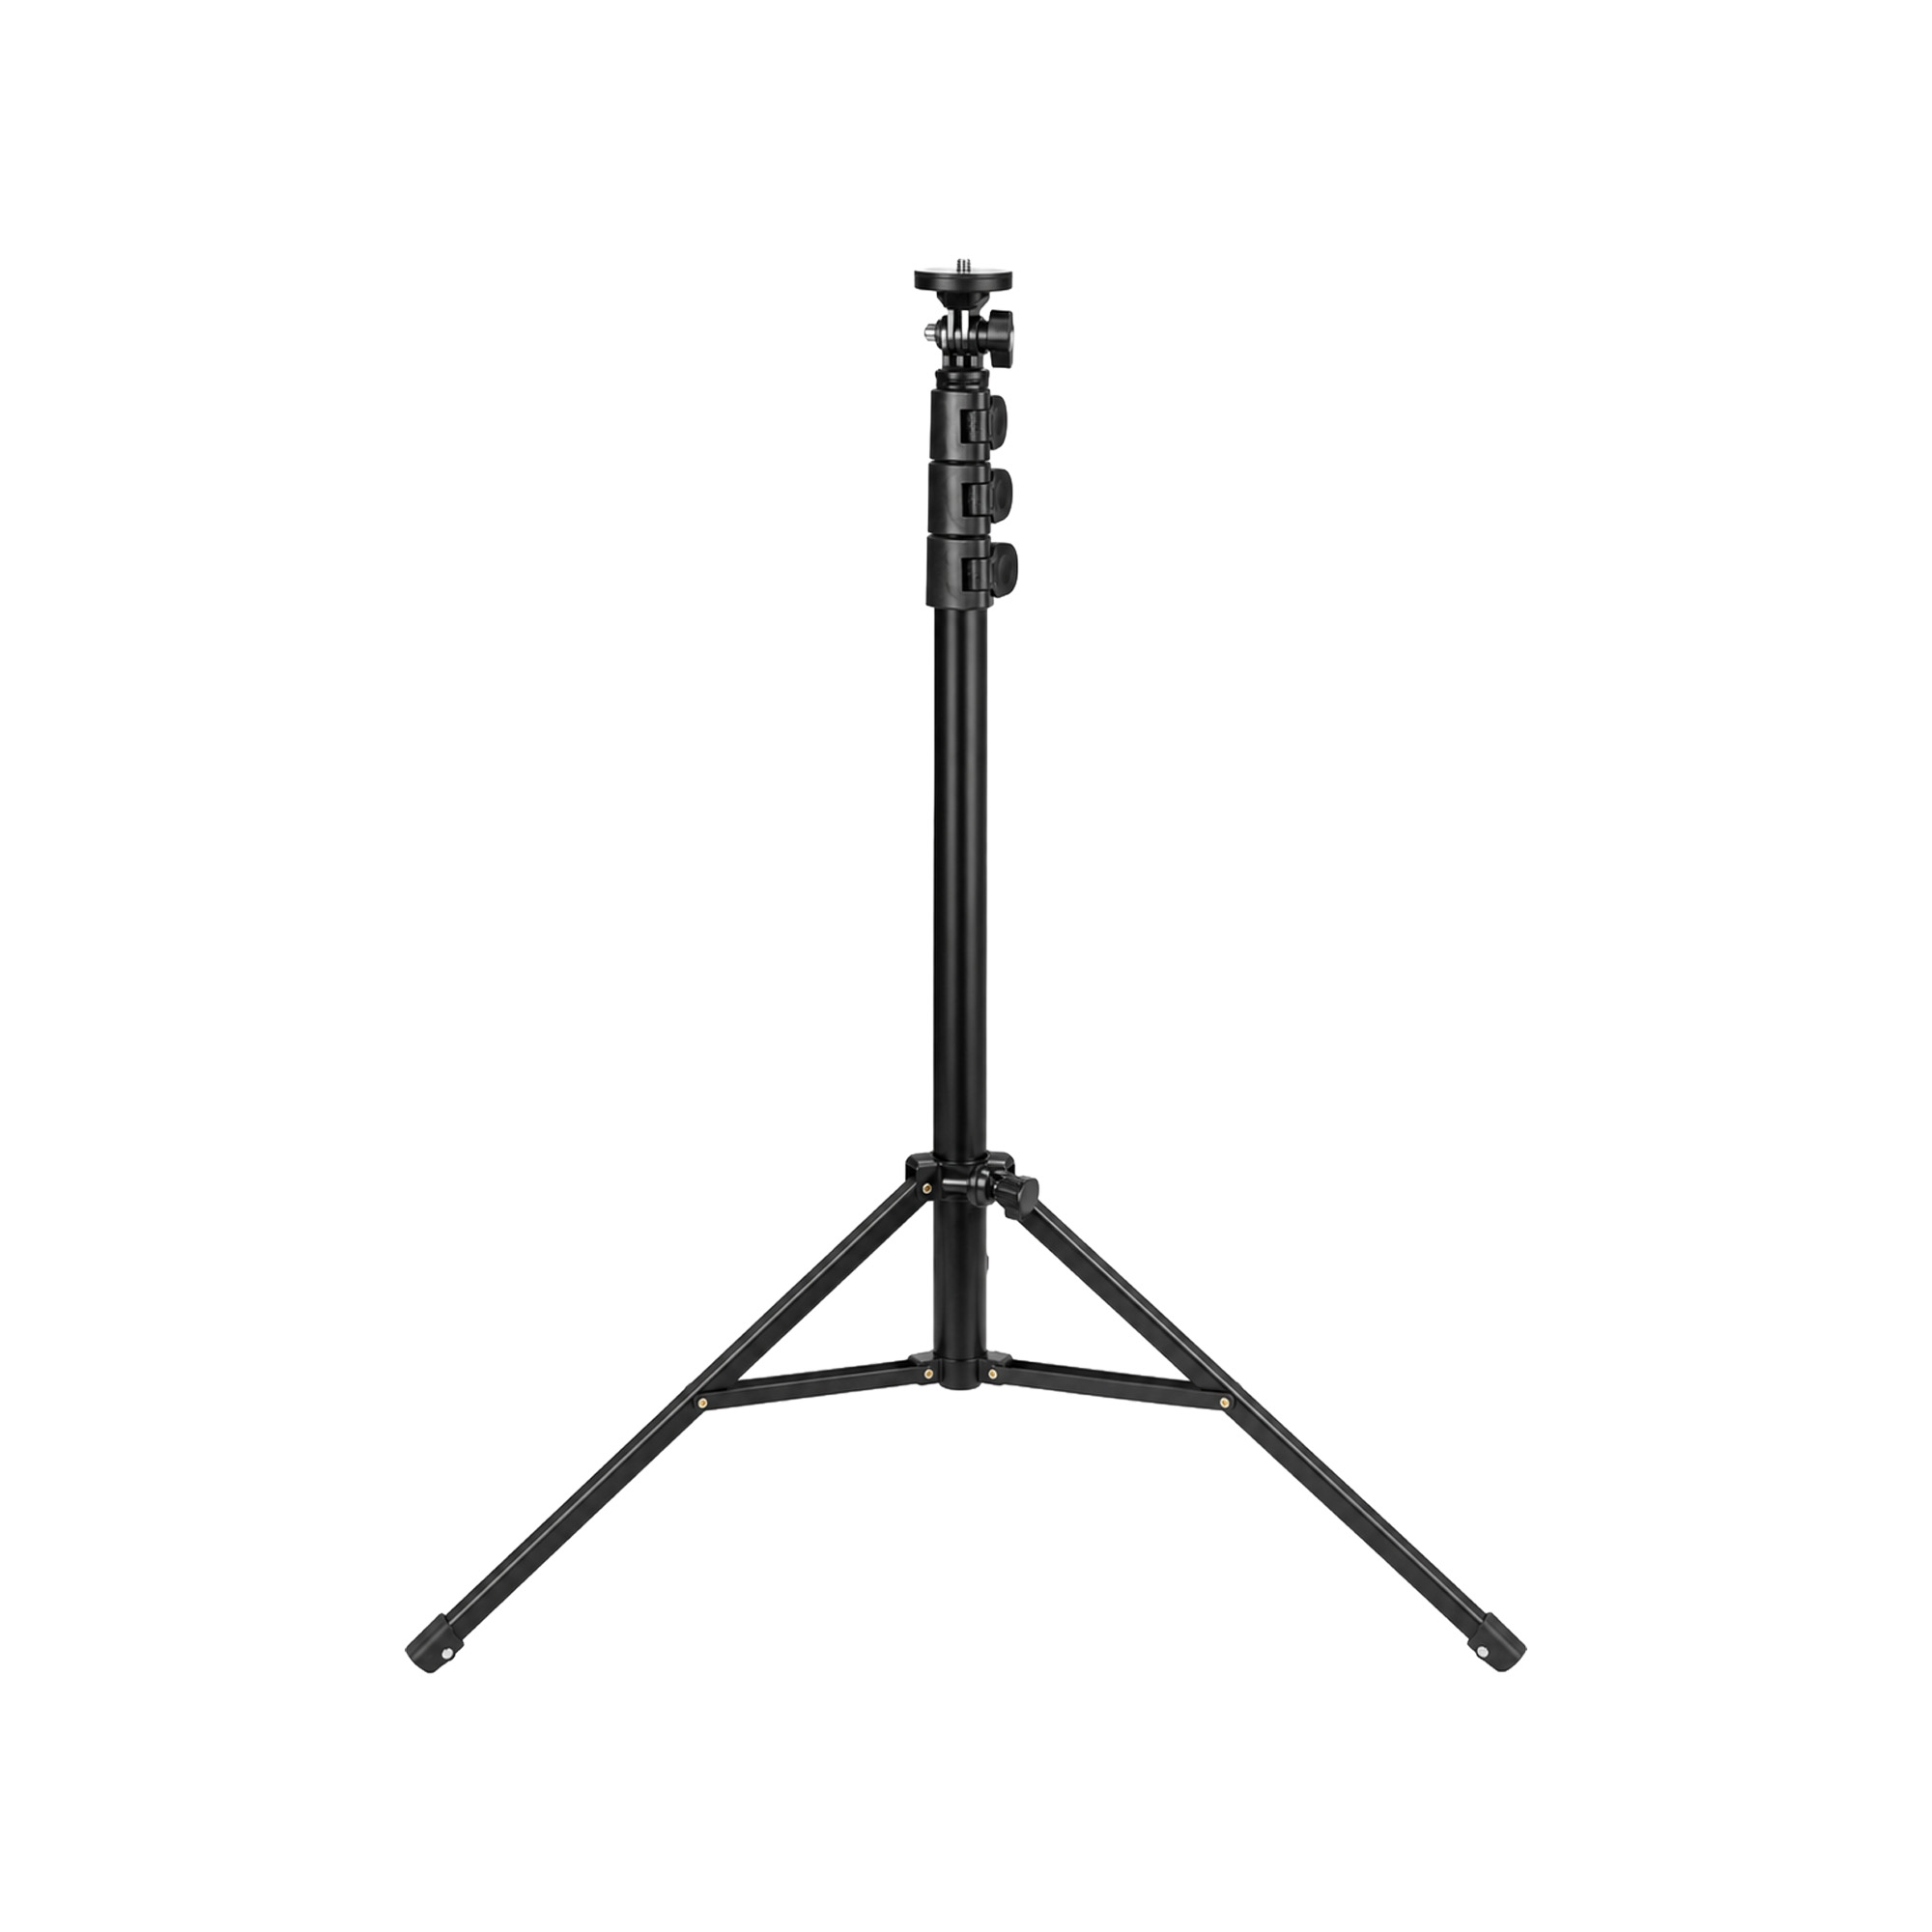
The Tripod Stand Accessory is described for mounting compatible timing equipment, including displays and sensors. Before treating one as a spare, confirm the connection, height range required by the session and any adapter or fastening piece that belongs with it.
Label a spare stand with its intended role. A stand packed without its mounting screw or adapter is not a complete replacement. Inspect leg locks and contact points, then set it up during the pre-session check rather than assuming it remained ready in storage.
Reflectors and beam alignment
The Optical Reflector Accessory is offered for compatible laser timing gates. Protect its surface during transport and avoid placing loose hardware against it in the case. If a reflector is replaced, repeat the alignment check at that timing point.
Use the timing-gate alignment guide to keep setup height and passage checks consistent. A successful power-on does not prove that the beam path is correct.
Antennas and site conditions
The Antenna Accessory is described as a replacement or additional antenna for compatible timing systems. Record where the original antenna is installed and how it should be secured. Do not attach an unconfirmed antenna merely because the connector appears to fit.
Communication performance also depends on site conditions. If the field layout changes, keep the timing stations clear of avoidable obstructions and run a controlled passage at every point. The outdoor conditions guide provides a place to note weather, surface and layout changes.
Power cables and charging items
The Power Cable Accessory is sold as a replacement or additional cable for timing equipment, with compatibility confirmed by model and order. Store a label on both ends of every cable. Keep a damaged or doubtful cable out of the ready case so it cannot be selected under time pressure.
Charge rechargeable units according to the current product instructions. Before departure, connect each cable to its assigned device and confirm normal operation. Pack weather protection only where it does not obstruct ventilation or create another safety problem.
Start audio and session rules
The Small Speaker Accessory supports command or start sound for compatible packages. If the test relies on that sound, include the speaker and its connection in the same check as the start device.
Write what happens if start audio fails. The crew may pause and replace the confirmed part, but it should not quietly switch to a different start method halfway through a comparison block. The reaction-time testing guide explains why a commanded start and a movement-triggered start produce different timing questions.
Pack by station, not by product type
A single bag of cables and fasteners looks organized until the setup crew has to decide where each item belongs. Use small labeled groups: start station, split one, finish station, timing host and display. Put the compatible spare beside the station inventory or give it a clear shared-spare label.
Photograph the complete contents on a table and save the image with the checklist. At the end of the session, use the same groups for reconciliation. The portable kit field workflow shows how station labels can follow equipment from storage to the lane and back.
Run a substitution test
- Power and check the normal system first.
- Replace one item with the labeled spare.
- Repeat the relevant alignment, connection or sound check.
- Record the result and return the normal item to service.
- Remove any spare that fails or has uncertain compatibility.
Field rule: a spare is ready only after its model compatibility and operation have been checked. Keep untested parts in a separate service area, not in the session-ready case.
Questions about timing system spares
How many spare parts should a team carry?
Base the count on the number of stations, travel risk and which items can stop the session. A compact local test needs a different reserve from a remote multi-point event.
Can one spare serve several models?
Only when compatibility is confirmed for each model. Record that confirmation on the label and in the inventory.
Where can replacement compatibility be checked?
Use the current product page, manual and order record, then contact 01TIMER replacement-parts support with the model and a clear description or photo of the required part.