01TIMER.COM / Timing system guides / basketball speed testing
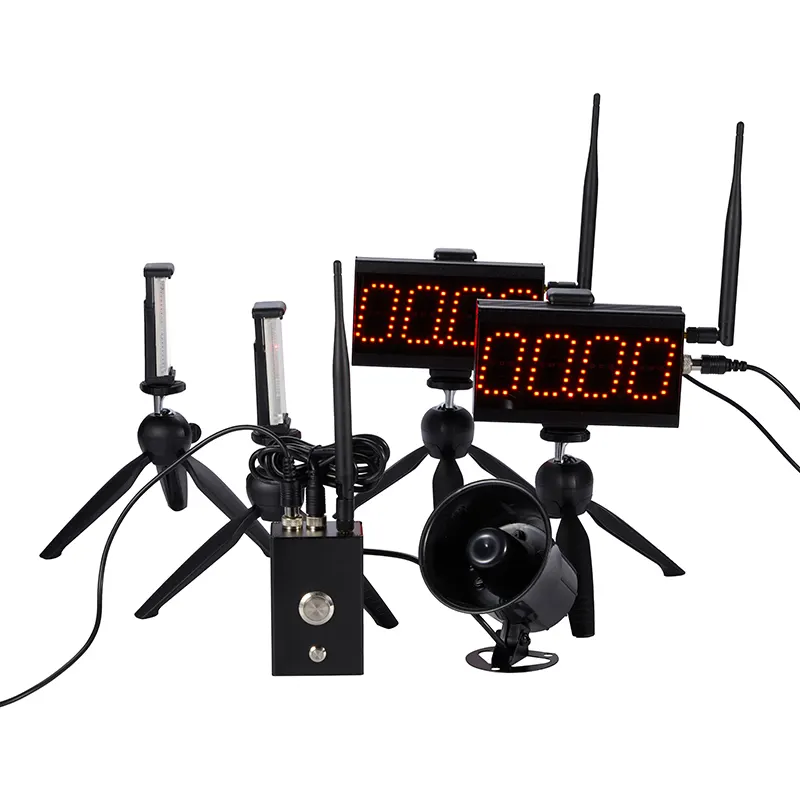
Basketball Speed Testing with Timing Gates on Court
A basketball court offers clear lines, but those lines do not automatically create a repeatable speed test. The useful work happens before the first run: choosing one movement, fixing the start method, checking the route and deciding what the recorded time is meant to show.
Begin with one coaching question
Choose the test from the decision you want to make. A short straight burst can track early acceleration. A longer run can show how speed develops once the athlete is moving. A planned cut can measure a specific change-of-direction task. These results should stay separate because they describe different movements.
Write a simple protocol name at the top of the result sheet. Include the route, start type, ball condition and timing points. If a later session changes any of those items, give it a new protocol name instead of placing unlike numbers in the same ranking.
Turn court markings into fixed references
Use court markings as references only after measuring the actual route. Record which edge or center of a line defines the start and finish. Tape or low-profile markers can make the chosen points obvious without leaving interpretation to the next operator.
Place the timing units beyond the athlete's path rather than inside it. Keep cables, tripods and cases away from the lane and from the space needed to slow down. The timing-gate alignment and beam-height guide explains how to check the beam before collecting scored attempts.
Match the layout to the movement
| Test idea | Timing layout | Result label |
|---|---|---|
| Short straight burst | One start point and one finish point on a measured straight lane. | Standing acceleration, route, distance and start command. |
| Flying sprint | An approach zone before the first gate, followed by a measured timed zone. | Approach distance, timed distance and entry instructions. |
| Planned change of direction | A start and finish gate with fixed turn markers that do not move between trials. | Route name, turn direction and required touch or footwork rule. |
| Ball-handling route | The same measured route, with ball use defined throughout the attempt. | Dribbling condition, route and any loss-of-control rule. |
The T-test timing guide and 5-10-5 timing guide show how a named route can be documented. They are not interchangeable with a basketball-specific route, but their setup discipline is useful.
Keep the start method visible
A time that begins with an athlete's movement answers a different question from a time that begins on an external signal. Choose one method for the testing block and describe it in plain language. The operator should know whether early rocking is allowed, where the lead hand or foot begins and what makes an attempt invalid.
If the session includes a response to a visual or sound cue, store that as a reaction task rather than quietly mixing it with self-started sprints. The reaction-time testing guide covers that distinction in more detail.
Run a rehearsal before recording athletes
Walk the route first. Check that the beam clears nearby equipment, players waiting in line and people crossing the court. Then perform one controlled run to confirm that the display responds at the intended start and finish. If the route includes a turn, watch the marker from the same operator position that will be used during testing.
A multifunction system may support several session formats, but the hardware does not decide which one fits the coaching question. Review the CS-003 timing-mode planning guide or the current CS-003 product page for model-specific information before setup.
Record enough context to repeat the test
For each attempt, save the athlete ID, protocol name, attempt number, time, validity and a short note when something changed. At session level, record the court, surface, footwear rule, warm-up, rest plan, gate positions and beam height. Do not overwrite an invalid attempt. Mark it and preserve the reason.
This does not require a complicated database. A tidy roster with one row per attempt is usually easier to audit than a sheet that stores only each athlete's best time. The athlete testing data workflow offers a practical structure for keeping setup notes beside results.
Compare the same task, not just the same distance
When reviewing progress, compare trials that use the same route, start, ball condition, timing positions and validity rules. A faster number from a different movement does not prove improvement in the original task. It may simply be a different test.
Report the protocol next to the result, especially when coaches share data across age groups or teams. A small label such as “self-start, no ball, straight court burst” prevents the time from losing its meaning once it leaves the testing sheet.
Court rule: if an assistant cannot rebuild the route from the session note, the protocol needs one more line of detail.
Questions about basketball timing gates
Can one session include straight and change-of-direction tests?
Yes, but keep them as separate testing blocks. Close and label the first block before moving gates or turn markers for the next route.
Should athletes carry a ball during speed testing?
That depends on the coaching question. If both conditions matter, test and label them separately rather than averaging dribbling and non-dribbling trials.
What happens when another player crosses the beam?
Mark the attempt invalid, clear the lane and repeat it under the session's rest rule. Keep waiting athletes and loose balls outside the beam line.