S-006 Outdoor Wireless Range Walk-Test Guide for Long Courses
Long-distance timing starts with a route check, not a stopwatch. Walk the actual start-to-finish link, record what changes along the course and leave the operator with a tested control position.
What the walk-test is meant to answer
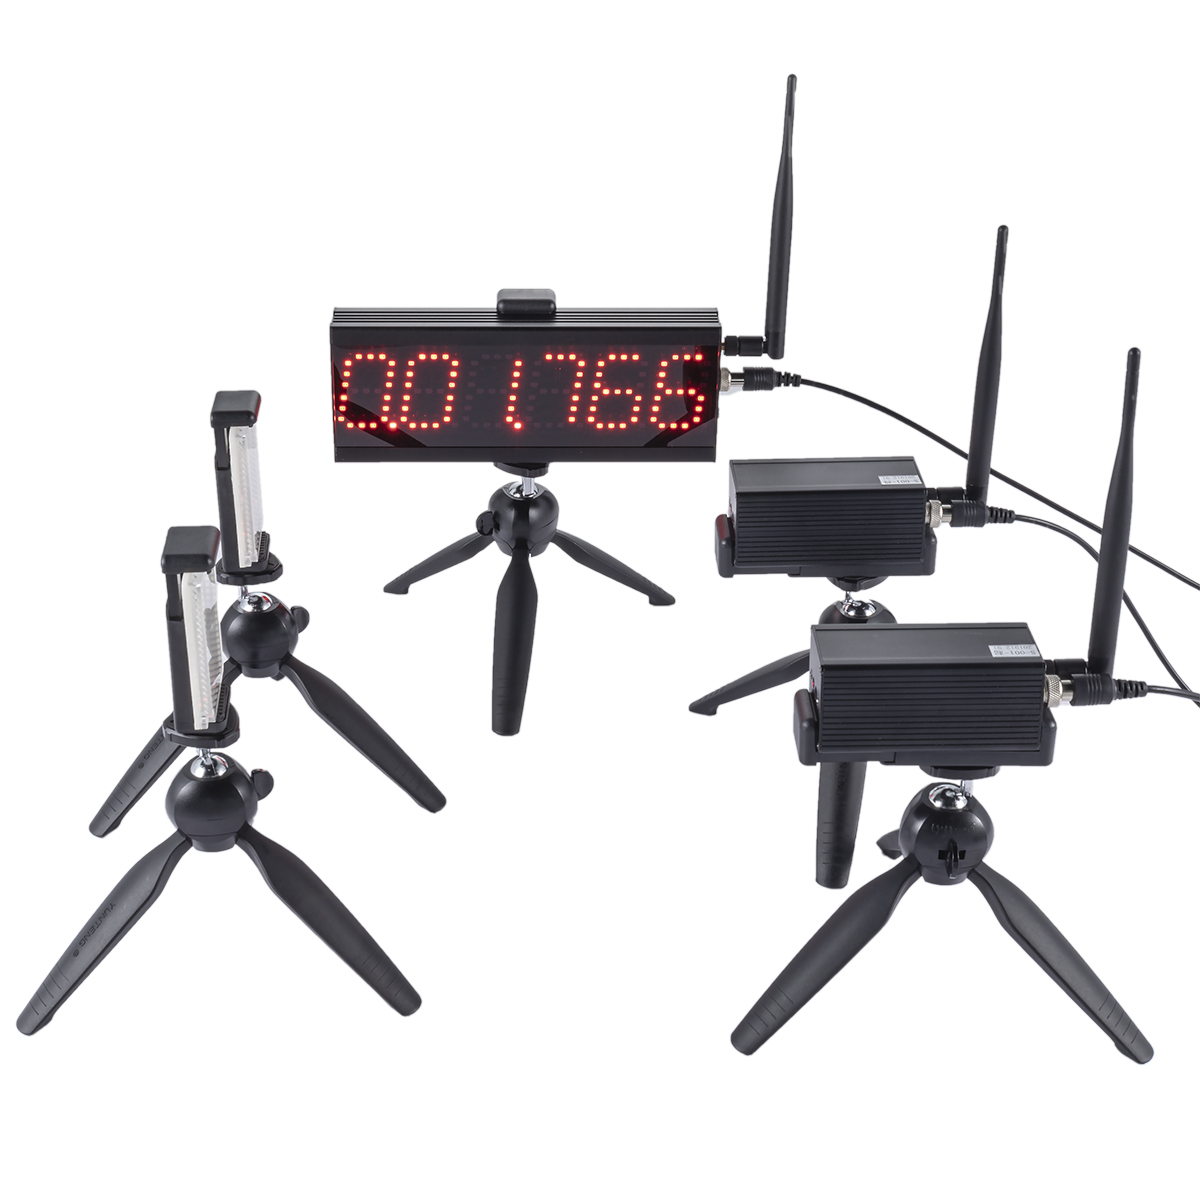
The current S-006 product page describes a long-distance wireless laser timer for one person's start-to-finish time. It lists a start laser, finish laser, LED display, reflectors, tripods, antennas, power cables and an equipment case. The equipment can be suitable for an outdoor timing lane, but the site still determines whether the link is practical.
Before setting the course, write down four questions: Where will the control position sit? Which route sections can block the signal? Who checks the finish station? What conditions should be saved with the result? The walk-test should answer those questions without an athlete in the lane.
Follow the route in four passes
Use the published range with context
The product listing gives the S-006 a best-condition communication distance within 3 km and describes stable communication up to 1.5 km depending on conditions. Typical conditions are listed at 1.5 to 2 km. Those figures are useful when estimating a venue, but they do not remove the need to test the actual path.
Do not place the control point at the edge of the quoted range simply because the map allows it. Leave room for a safer location, a clear view of the operator and a finish station that can be checked without entering the athlete route.
| Observation | Record beside the result | Action if it changes |
|---|---|---|
| Distance | Measured start-to-finish and control-to-station distance | Repeat the link check from the final position. |
| Obstruction | Building, vehicle, trees, fence or crowd line | Move the control point or define a new route. |
| Surface | Track, turf, road or uneven ground | Recheck stand stability and beam height. |
| Weather | Wind, rain, heat or low light | Keep the condition in the session label. |
Stabilize the stations after the link works
A wireless connection can be good while a timing station is physically unreliable. Set the tripods outside the running line, align the beams and protect power and antenna connections from foot traffic. Use the alignment and beam-height guide when a station is moved. If the finish station needs a replacement part, check the replacement-parts path before the event.
Test a controlled crossing at the start and finish. Then ask a second person to confirm that the visible result belongs to the intended station. The LED visibility guide helps when the display is used by a coach or finish official rather than the operator.
Keep the route note with the data
Save the route diagram, communication test position, weather note and station labels with the timing export. When a later session is slower, this record helps distinguish an athlete change from a course or operating change. The outdoor timing conditions guide shows how to keep environmental notes visible instead of treating them as informal comments.
For athlete-level records, use the repeatable testing workflow and keep invalid attempts in the file. A clean route note is part of the measurement, not extra paperwork.
Give the next operator a single contact point for the route. Mark the control position with a visible stake or venue reference, name the start and finish stations in the same order used by the result sheet, and note where the final link check was performed. This small handoff prevents a familiar course from being rebuilt from memory after weather, traffic or venue access changes.
Know when the S-006 is the wrong shape
The S-006 is described for a single person's start-to-finish timing over a longer wireless course. A session that needs several intermediate splits may be better planned with the S-007 multi-point system. A four-lane start may fit the S-004 channel plan instead.
Field rule: publish the route only after the control position, start, finish and environmental notes have all been tested on site.