Open the order record before the case
The current CS-003 product page describes a compact laser timing kit for training centers, clubs and compact test lanes. Its package description lists a controller, laser sensors, tripod kit and carry case by package. Power accessories and setup guidance also depend on the package.
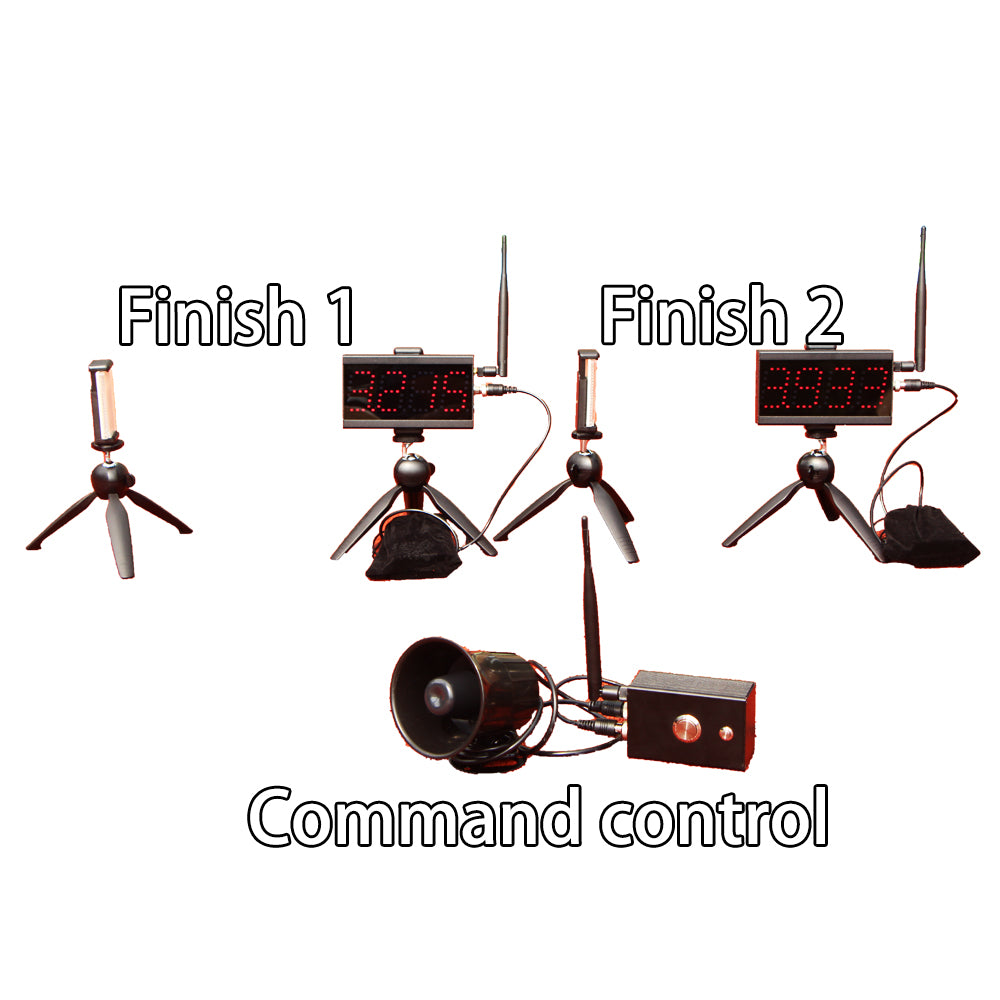
Use the invoice, quote or order confirmation as the inventory source. Lay out the components and match each item to the record. Do not fill a missing detail from a different model's page. Photograph the complete set before it goes to the lane.
Hardware
Every ordered item is present and labelled.
Protocol
One mode and one course are written down.
Evidence
Acceptance trials and exceptions have a record.
Lock one timing mode
The product page positions CS-003 as a multifunctional system for dash timing, lap timing and flexible event modes. That range is useful over the life of the kit. During the first session, it can tempt an operator to change modes before any one setup is understood.
Choose the mode that answers the first training question. Write the selected mode, start event, stop event and result fields at the top of the setup sheet. The CS-003 mode-planning guide helps make that decision before hardware placement.
Translate the mode into a lane
Measure the course from one stable reference. Mark the start, finish and any other required event point. Assign each device a station ID that also appears on the course sketch. Keep tripods outside the athlete's path and leave space beyond the finish.
For a straight sprint, the sprint timing protocol covers distance and start rules. For a lap session, use the multi-lap workflow to define the first passage, lap count and final passage before operating the timer.
Record the settings that matter
| Workbench field | What to enter | Why it stays with the baseline |
|---|---|---|
| Mode | Exact selected operating mode | Prevents an unnoticed mode change |
| Course | Measured distance, direction and station IDs | Allows another operator to rebuild it |
| Start and stop | Physical event and command rule | Defines what the elapsed time means |
| Result fields | Athlete, trial, time, validity and note | Keeps device output tied to a person |
| Site conditions | Surface, indoor or outdoor, obstructions | Explains changes at a later session |
The page asks buyers to confirm communication distance, timing accuracy and power by model and operating mode. Keep the confirmed information with this sheet instead of substituting general values from another kit.
Run three acceptance trials
Trial one is a slow walkthrough. Watch the expected start and stop events in order. Trial two is a controlled run using the same route and athlete instruction planned for the session. Trial three is deliberately invalid, such as an early crossing or another safe interruption. Staff must recognize the bad record and reset the lane.
Use the alignment and beam-height guide after any sensor or stand moves. If a result needs to be visible away from the operator, confirm compatible display options and follow the display placement guide.
Start with a small roster
Run the first scored session with enough athletes to test the workflow but few enough that the operator can pause. Use stable athlete IDs and one row per trial. Record invalid trials instead of removing them without a note. That record reveals whether the problem came from the protocol, lane, operator or equipment.
The athlete testing data workflow provides a repeatable roster structure. When results are exported, follow the CSV guide so fields retain the same names.
Save the baseline before changing anything
Photograph the accepted lane from the operator position and from each timing station. Save the course sketch, selected mode, settings, result template and acceptance notes together. That CS-003 timing session becomes the dated baseline. The next setup begins by rebuilding this known configuration.
At pack-down, count every item against the order record and inspect mounts, power items and the case. The maintenance checklist covers storage and later inspections. Label any spare by compatible model rather than appearance.
Questions before the first CS-003 session
Should every mode be tested on day one?
No. Validate the chosen session mode first. Treat each later mode as a separate setup with its own course and acceptance trials.
Does the standard package always contain the same parts?
The product page describes the controller, sensors, tripod kit, case and power support by package. Use the current order confirmation for the exact contents.
What should be confirmed with 01TIMER?
Send the selected mode, course diagram, expected result fields, site conditions, display requirement and package reference through the request-a-quote form or setup support page.